


Affiliate Disclosure: As an Amazon Associate, I earn from qualifying purchases. Thank you for supporting Bakeroise.

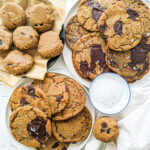
Greetings! Today, I have an incredibly simple yet remarkably delicious recipe for vegan chocolate chip cookies to share with you. By following this recipe, you can easily create bakery-style vegan chocolate chip cookies in the comfort of your own home. The dough only requires an hour of chill time in the freezer, followed by a 30-minute cooling period. If you follow the instructions and use the right tools, you’ll achieve impeccable cookies.
I’ve been told repeatedly that these cookies are incredibly delicious, and whether it’s the holiday season or any other special event, I exclusively choose to gift these.
I searched the internet for vegan chocolate chip cookie recipes and I chose to try this one that uses refined coconut oil instead of butter. It had a chunk of complaints but it was from home bakers who weren’t following instructions so their cookies would come out flat (they would skip the chilling process).
So I tried it myself and faithfully followed the recipe without making any alterations. Unfortunately, it still wasn’t good. It was way too oily and had too much chocolate. Yes, there is such a thing as too much chocolate.
I ended up only loosely following the recipe and eventually came up with something pretty different but finally my own:
It turned out to be perfect, at least for me and everyone else who has tasted it.
Throughout the extensive testing process, I gathered some valuable insights:
Use the right equipment.
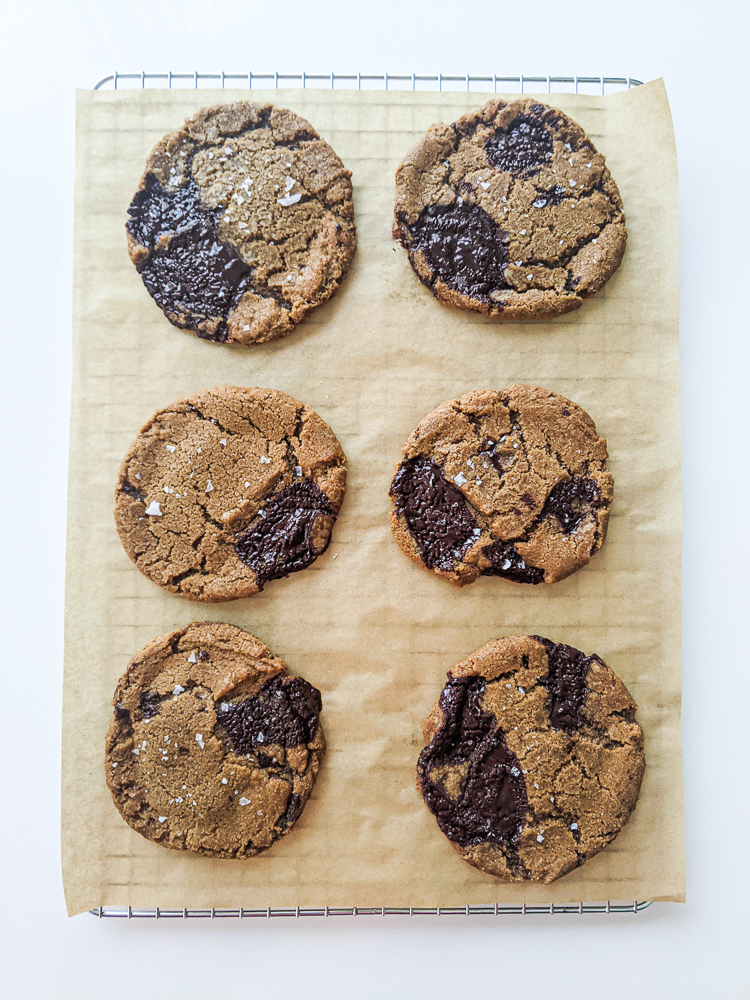
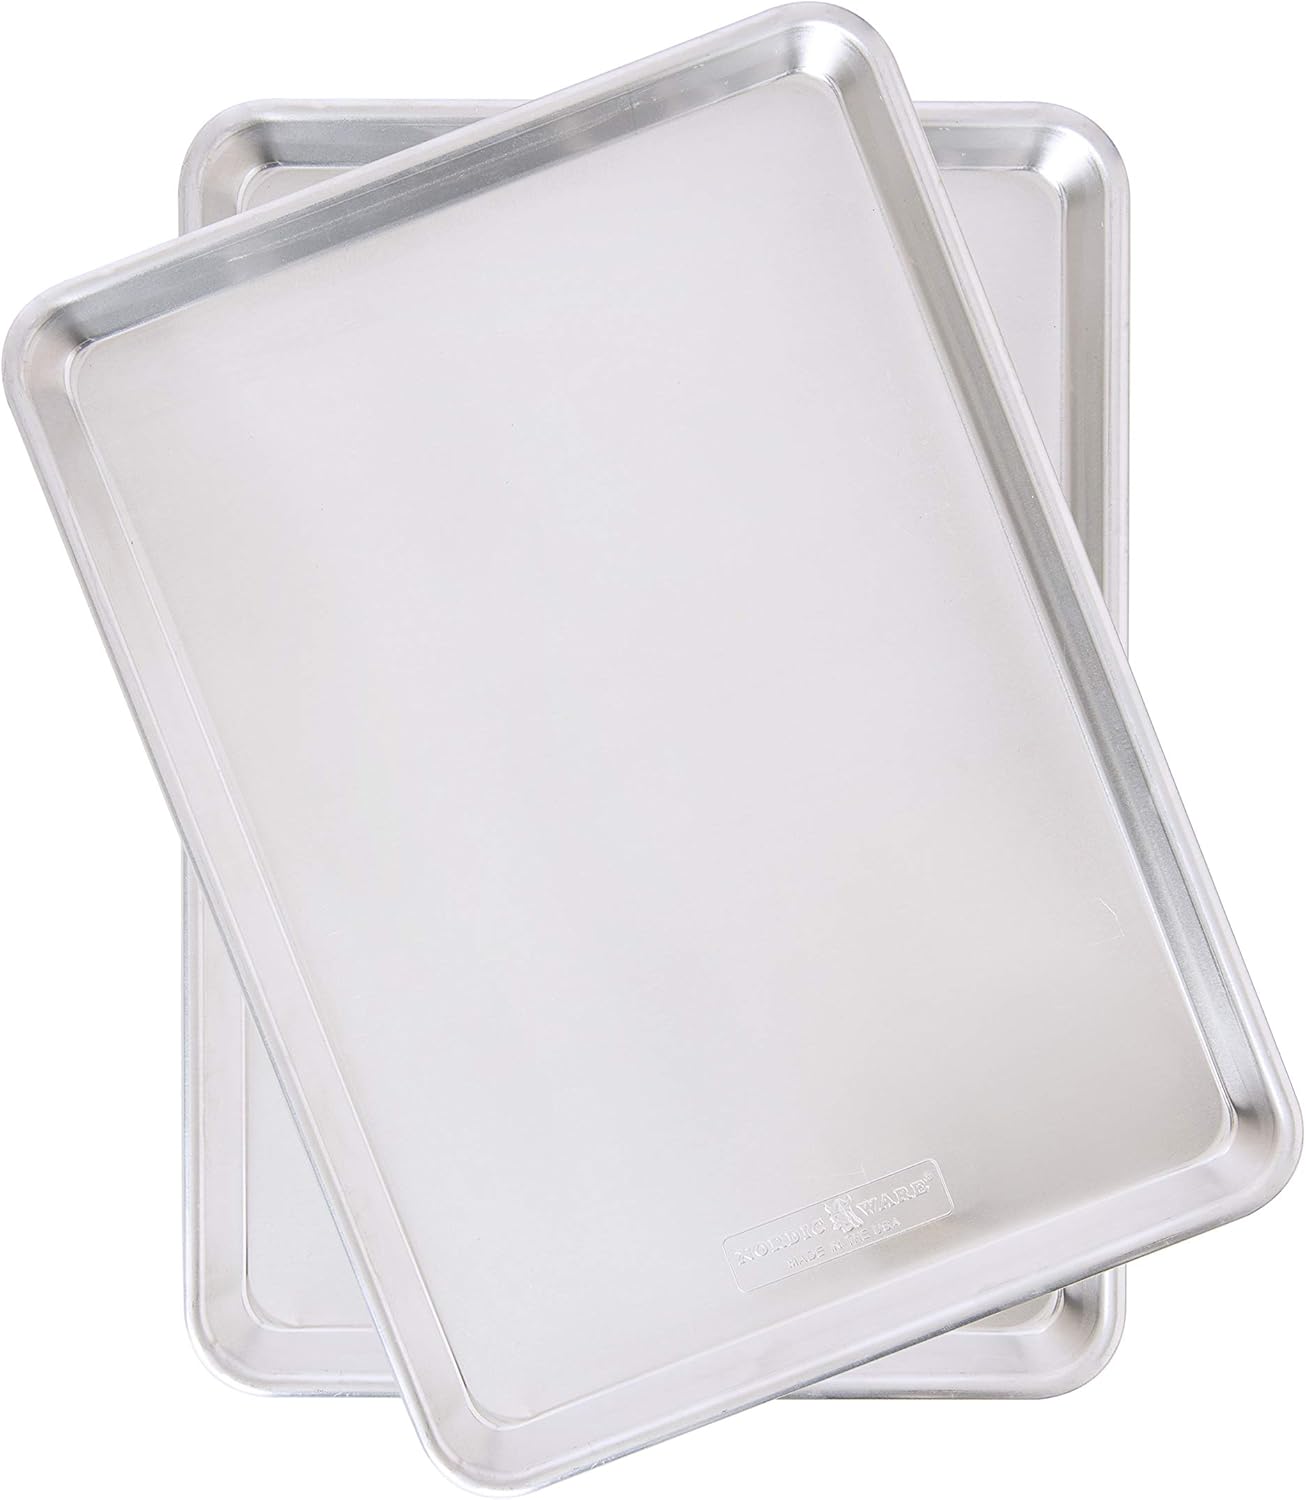
I use aluminum pans and lined them with unbleached parchment paper. The parchment paper seems wasteful but the silicone made the cookies spread out more.
Having a stand mixer is always going to be more convenient and efficient. It’s especially important to mix this dough right so the sugar and coconut oil mixture doesn’t sink to the bottom of the mixing bowl, causing uneven distribution and deformed cookies.
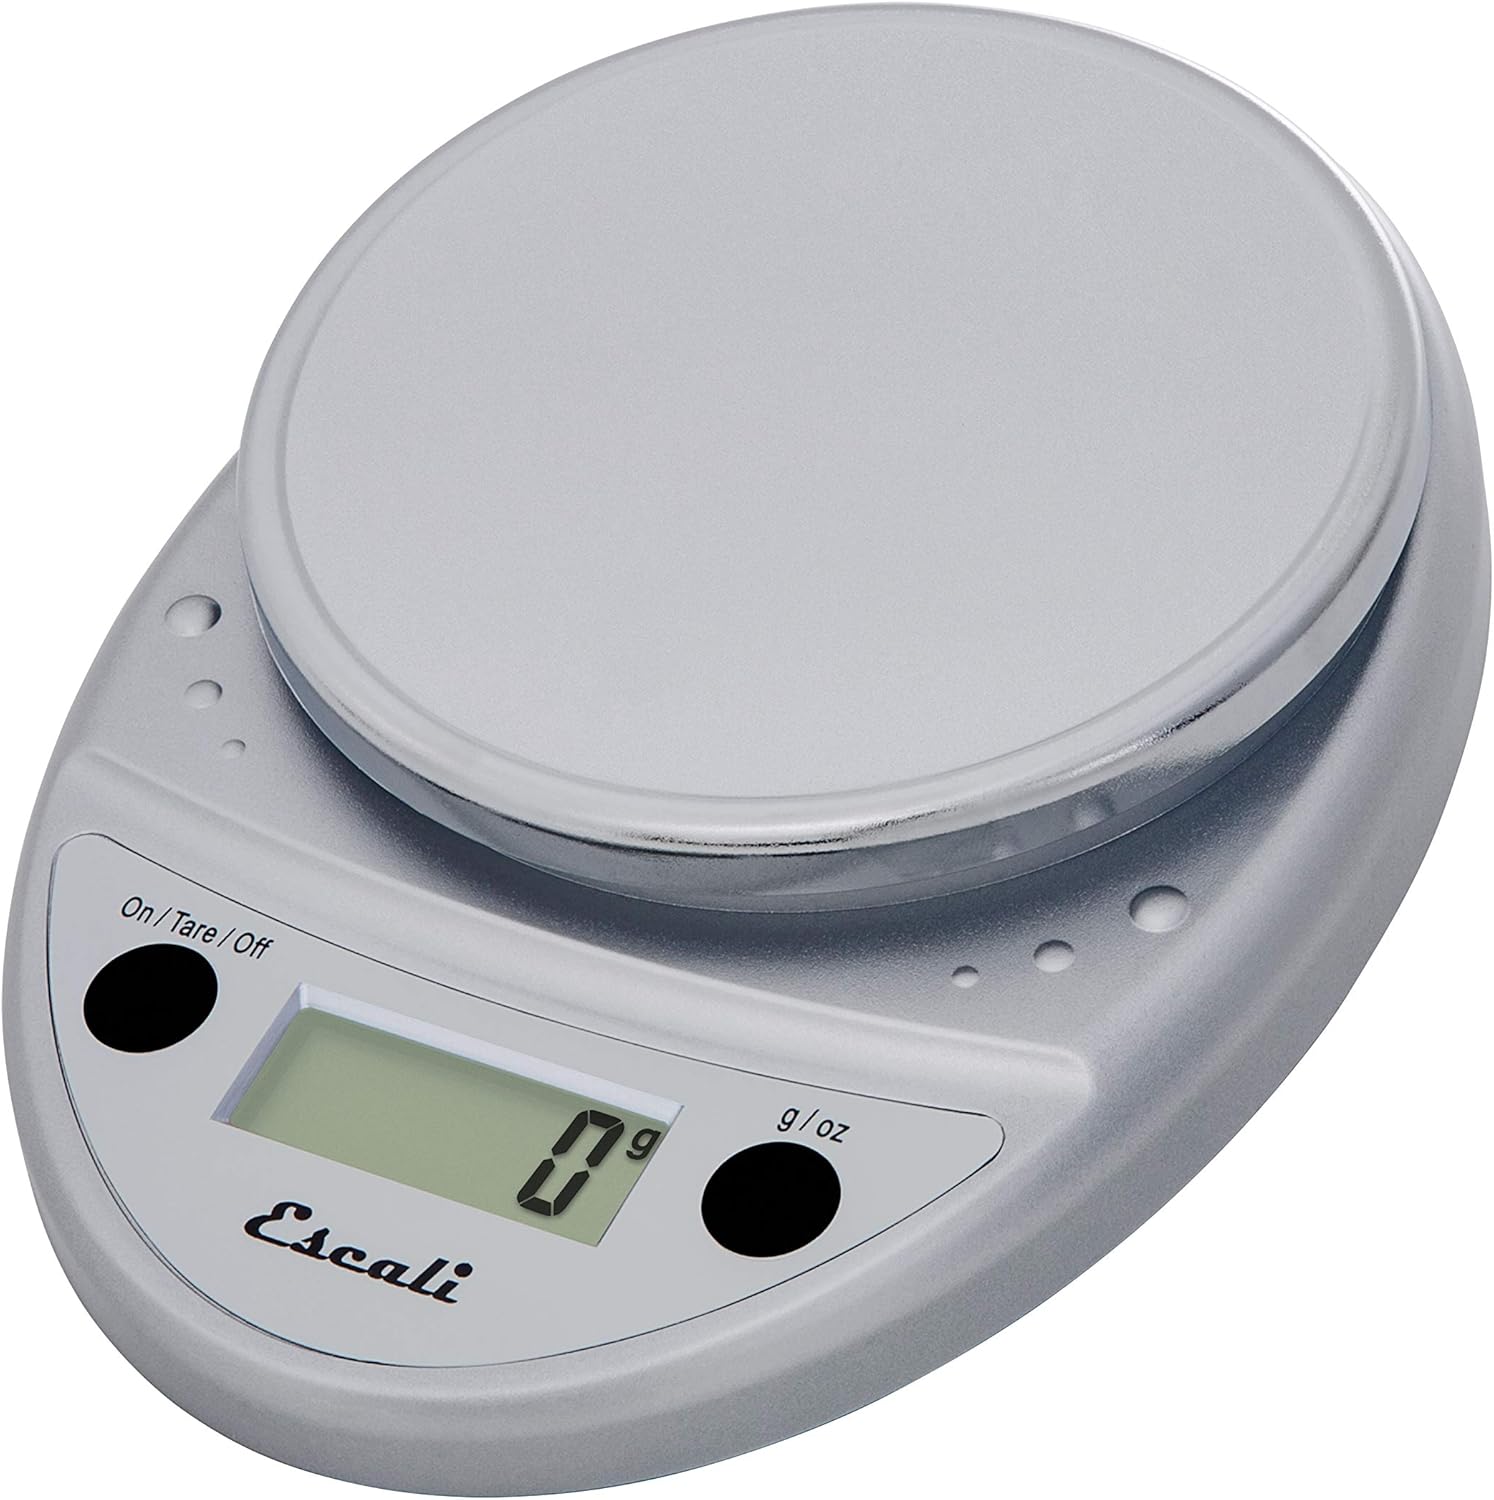
For precise measurements, a kitchen scale really is best. Even when you try to measure using a measuring cup using methods similar to weighing, there’s no guarantee you have the right amount – and having the right amount is important since baking is a science and you can’t just go around messing with measurements and ratios.
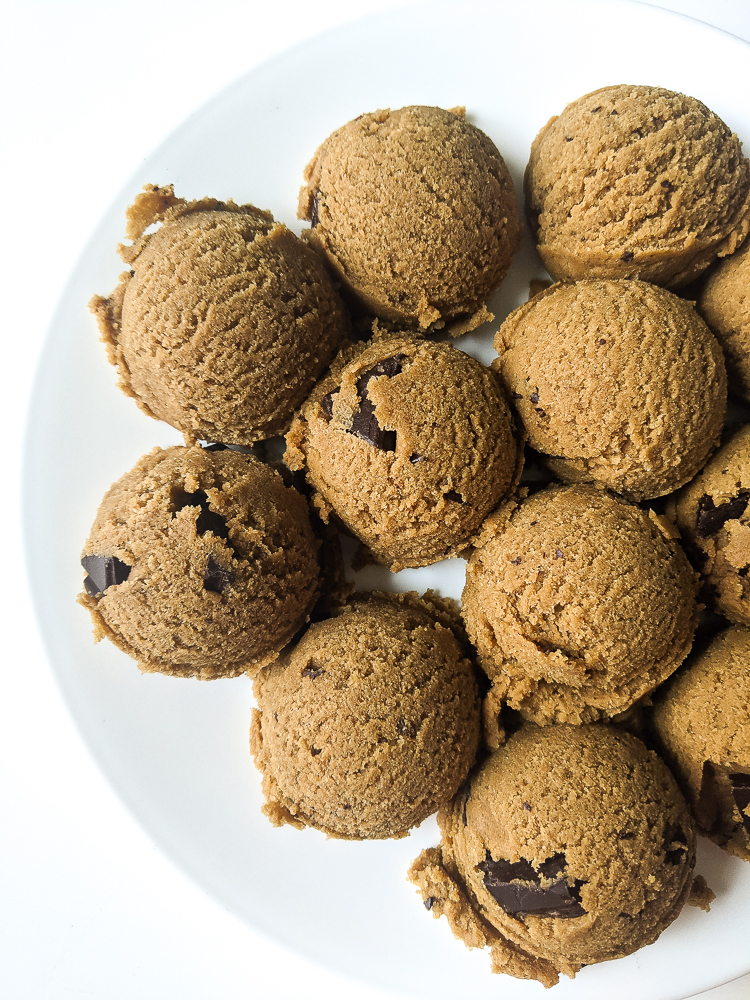
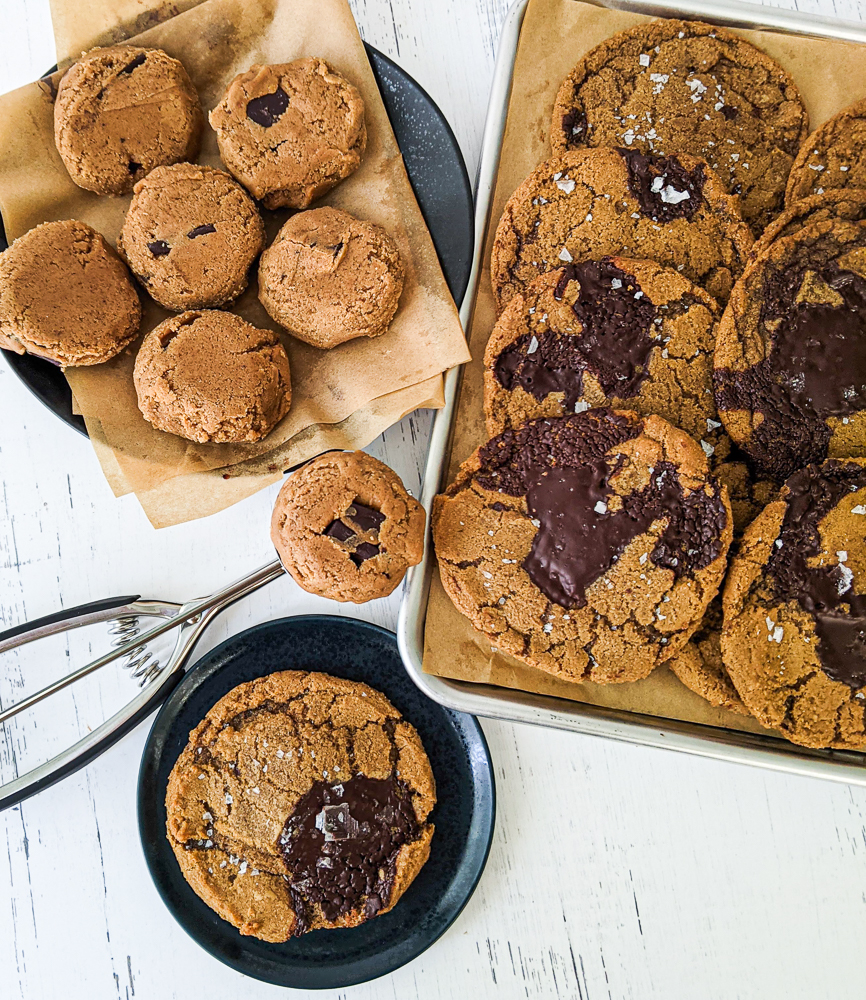
To achieve larger cookies, I rely on a four-tablespoon-sized cookie scoop, which closely resembles an ice cream scoop. This will give us the giant cookies we tend to only get at the “fancy” bakeries.
Use the correct ingredients:
I use refined coconut oil like the original Tasty recipe I posted above but reduced the content by 25%. Refined coconut oil has a higher smoke point and has been processed to have the taste and aroma removed. Unrefined coconut oil has a way too prominent coconut taste and for this recipe.
There are concerns about the ethical practices that involve, well everything, but even more so when it comes to coconut harvesting so I chose Nutiva’s refined coconut oil. They seem to have a good mission and more sustainable, humane practices based on what I’ve found on the internet. If any of this changes or I am misinformed, please let me know.
The coconut oil must be completely melted when working with it. This allows for better mixing with the sugars. And yes, it also means that you need to chill the cookie dough to prevent excessive spreading.
No shortcuts please, thank you.
Use organic dark brown sugar when possible because it gives a richer, sweeter, molasses flavor. But if you can only get light brown sugar, then that’s just fine. The cookies will still taste spectacular…just not as spectacular as the dark brown sugar.
If something is marked as just “brown sugar”, then you can assume it’s simply light brown sugar. I sympathize with people who can’t just run from grocery store to grocery store – and that’s coming from someone who lives in the heart of Portland, Oregon which is one of the biggest foodie cities in the US.
Use decent dark chocolate. The chocolate I used was Green and Black’s 85% Organic Dark Chocolate as I prefer dark chocolate in general when it comes to taste. I replaced the semi-sweet chocolate with dark chocolate. I tend to use 76% to 85% depending on what’s available at my local shop. I sometimes use dark chocolate baking discs as well which I do still chop up for better distribution – yes, even though they are already broken down.
In order to maintain the recipe’s vegan nature, I used organic sugars. Conventional sugars, unfortunately, are processed with animal bone char.
Chill the dough in the freezer:
Like I mentioned earlier, the coconut oil needs to solidify once it’s mixed into the dough. Therefore, it is essential to chill the portioned dough in the freezer for a minimum of one hour, rather than solely relying on refrigeration. Especially if you’re tripling a batch – like I do most of the time.
I typically chill the dough for an hour but I only really trust it if the balls of dough are SOLID.
Sometimes this means chilling the dough overnight. This extended chilling time allows the coconut oil to solidify more thoroughly, preventing excessive spreading.
Bake only one tray of six cookies at a time (seriously).
When the cookie dough balls are chilled and the oven is preheated, we place six dough balls on the parchment paper-lined baking sheet in two rows of three. It is important to provide ample clearance between the cookies so they can spread without touching.
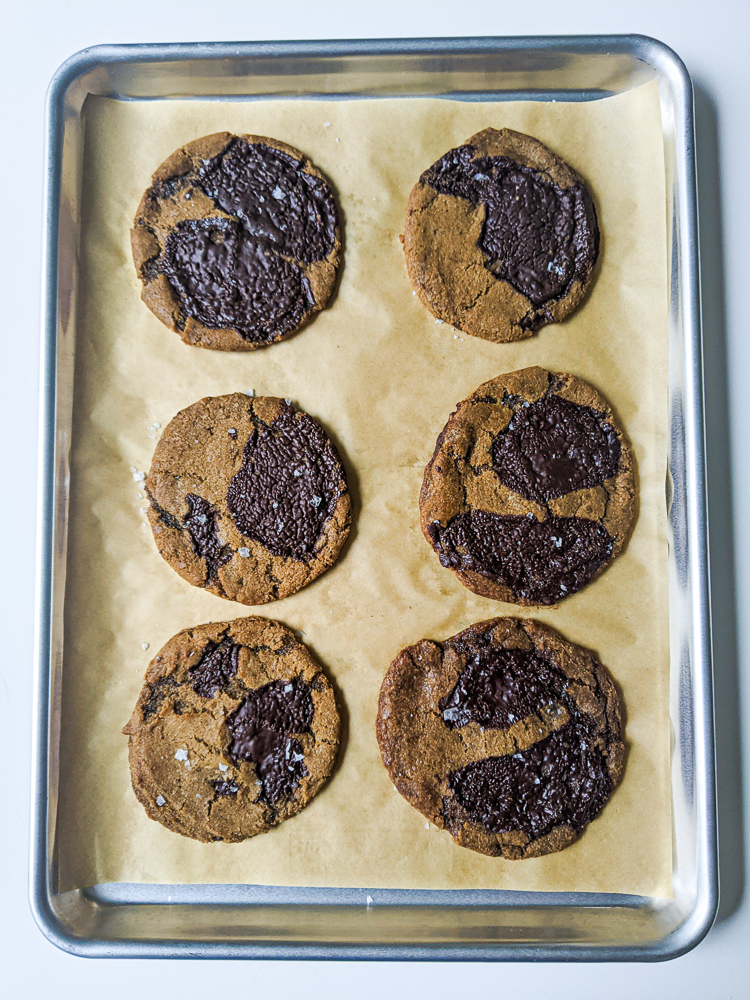
The next step may be a bit bothersome but c’est la vie. We will be baking only one tray of six cookies at a time, positioning it in the middle rack of the oven so that we have even, uninterrupted airflow.
Set the temperature to 350°F (or 175°C) and bake for 17-20 minutes, depending on your oven. While it is typically a good indication to wait until the edges turn brown and crispy.
Cooling down (required):
Right when the oven timer beeps that the cookies are done, we remove the pan from the oven and (optional) gently slam the bottom of the baking tray onto the flat surface. Then we generously sprinkle Maldon salt on each cookie. Then we gingerly transfer the parchment paper with the cookies on top to the cooling rack where it sits for another 20-25 minutes for the coconut oil to solidify and allow the cookies to maintain their structure.
Exercise caution when transferring the cookies, as they will still be soft and delicate. There is a risk of them falling apart if mishandled.
Allow the cookies to cool and set. Patience is key for cookie perfection.
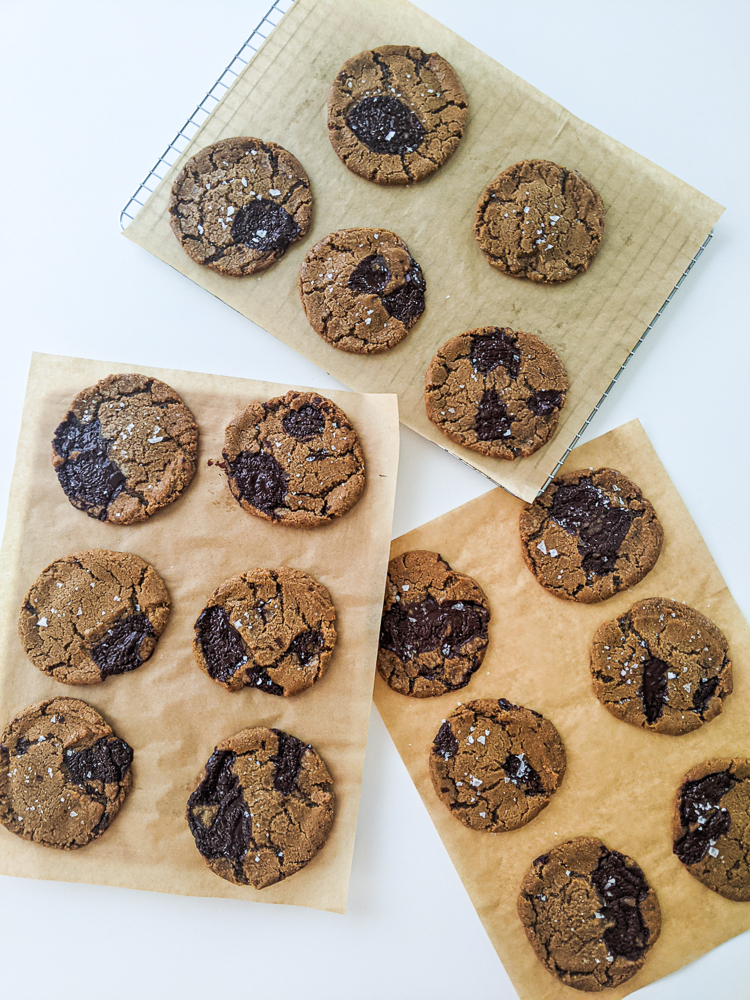
The cooling rack should be half-sheet in size and low like this one or the one above so that it’s easy to just slide the parchment paper onto the rack instead of actually picking up/lifting the parchment paper off the baking sheet.
If you are trying to make a huge amount of cookies in one day, know you’re going to dedicate hours and also make sure to have stacking cooling wire racks like this one that I own. It’s less than twenty bucks but I think I got mine for like $13 used. Worth it.
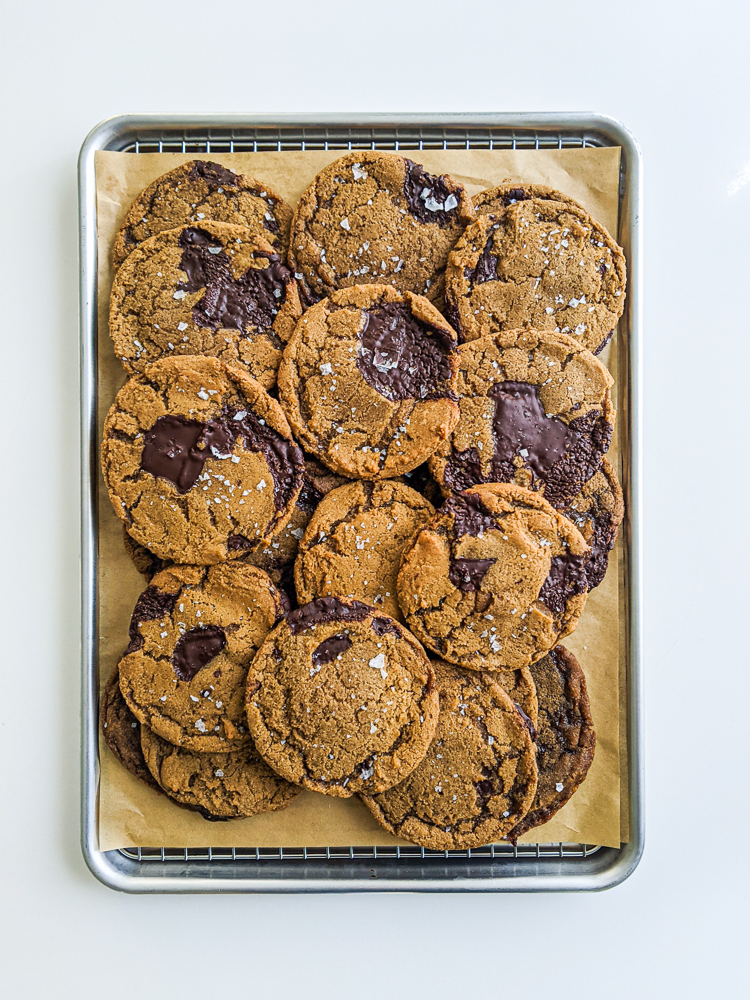
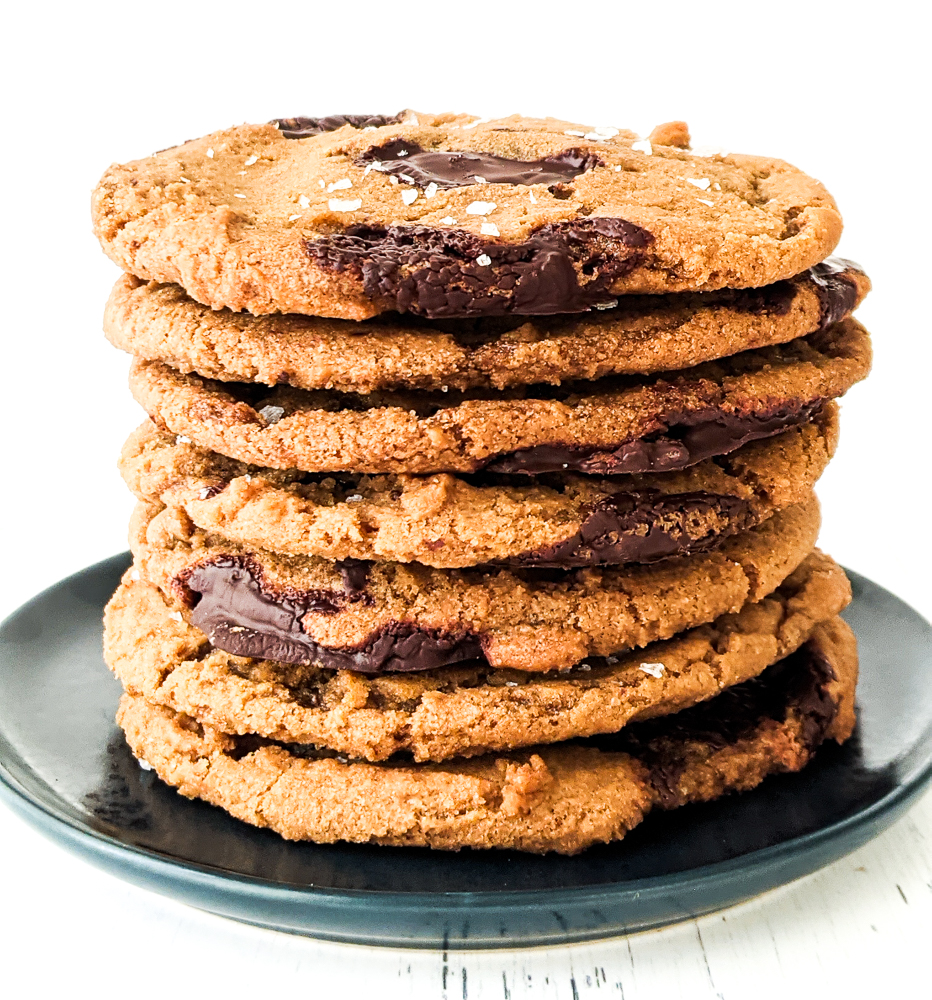
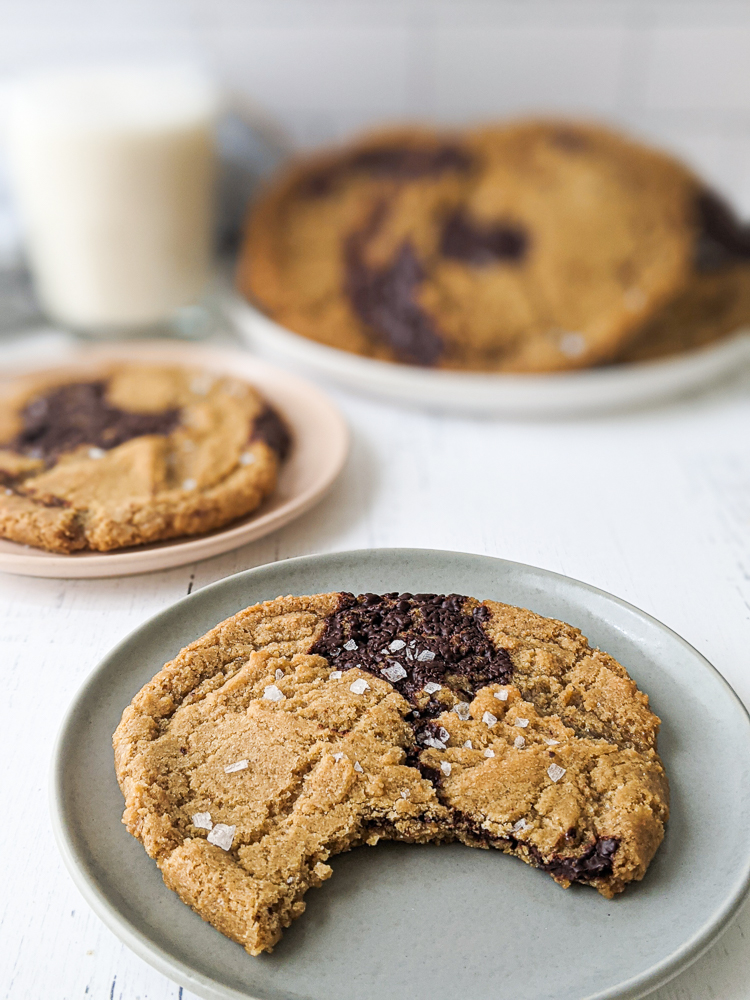
I topped the cookies with Maldon salt to intensify the chocolate taste.
These bakery-style chocolate chip cookies are absolutely delightful! Well, that’s according to the rave reviews from friends, neighbors, and of course, my own family. If you decide to give this recipe a try, I would love to hear how it turns out for you. Your feedback is greatly appreciated.
Bakery-Style Chocolate Chip Cookies
Easy recipe for perfect bakery-style chocolate chip cookies that happen to naturally be vegan.
- Prep Time: 25
- Cook Time: 17 minutes + 1 hour chill time
- Total Time: 1 hour + 42 minutes
- Yield: 12–13 cookies 1x
- Category: Baking
- Method: Baking
- Cuisine: American
- Diet: Vegan
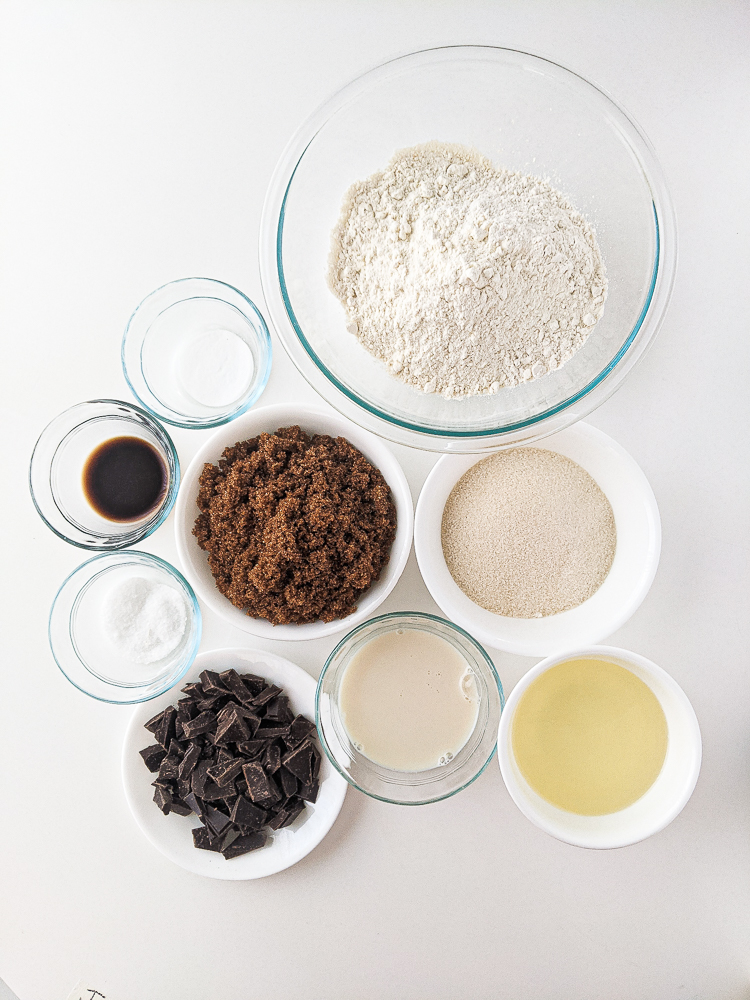
Ingredients
- 1 cup or 218 grams organic cane sugar
- 1.5 cup or 320 grams organic dark brown sugar – sub light brown sugar okay
- 3 grams of kosher salt
- ⅔ cups or 132 grams of refined coconut oil, melted
- ½ cup unsweetened vegan milk
- 2 teaspoon vanilla extract
- 3 cups or 360 grams of organic all-purpose flour
- 1 teaspoon baking soda
- 3 oz vegan dark chocolate – Usually this is 1 chocolate bar, broken up into chunks
- Maldon salt for topping – or whatever finishing flaky sea salt you have available.
Instructions
- Using the whisk attachment on your stand mixer on medium setting, mix both sugars, salt and melted coconut oil until combined. Scrape sides as needed.
- Whisk in the unsweetened almond milk and vanilla extract, until the batter is smooth with all the sugar having dissolved. It should look similar to melted sugar or a slightly rougher and darker version of maple syrup.
- Add the flour and baking soda.
- Use a spatula (or use the paddle attachment in mixer) to mix all the ingredients together until just combined.
- Add the chocolate chips carefully and mix again evenly until just combined.
- Use an ice cream scoop to set the dough balls onto a parchment paper-lined baking sheet.
- Chill the dough for at 1 hour. Preheat the oven to 350°F (180°C) 15 minutes before the hour is up. Adjust oven rack to the middle position.
- Take the parchment-lined, aluminum baking sheet and arrange 2 rows of 3 cookie dough balls. You can only bake 6 at a time as to not restrict airflow.
- Bake for 17-19 minutes. Remove when done and, if possible, slam the bottom of the tray a few times on flat surface to help flatten cookies.
- Sprinkle the cookies with the Maldon salt immediately and leave cookies on the baking sheet for 5 minutes as it will continue to cook.
- Transfer the parchment paper and the cookies by sliding the paper from the baking sheet onto the low cooling rack and let sit for another 25 minutes.
- Enjoy!


Notes
- Notes: If you double or triple this recipe, make sure to increase your chill time.
- Use a kitchen scale to weigh ingredients for the most accurate measurements.
- Always use an aluminum pan and parchment paper instead of a dark, nonstick pan or even a silicone mat. The aluminum pan and parchment paper produced much lighter and softer cookies.
- Only bake on tray of six cookies at a time. Always. Having multiple pans in the oven will restrict airflow.
- If making cookie dough in advance: Freeze raw cookie dough for 6-12 months. Refrigerate for only 2-5 days. Source: Bob’s Red Mill
- Storing cookies that have been baked: In an airtight container, this guide says 2-3 weeks or in the fridge for 2 months.
Originally published: March 20, 2021
Last Updated: October 3, 2023