• Skip to primary navigation
  • Skip to main content
  • Skip to primary sidebar
  • About
    • Contact
    • Disclaimer
    • Privacy Policy
    • Terms & Conditions
  • FAQ
  • Vegan Recipes
    • Free Fridge Food
    • Special Diets
      • Anti-Inflammatory
      • Gluten-Free
    • Type of Meal
      • Breakfast
      • Lunch
      • Dinner
      • Snacks
    • Culturally-Inspired
      • Argentinean-Inspired
      • Chinese-Inspired
        • Dim Sum
          • 12 Months of Dim Sum
        • Noodles
      • Filipino Food
      • Italian-Inspired
      • Japanese-Inspired
      • Korean-Inspired
      • Malaysian-Inspired
      • Mexican-Inspired
      • Neapolitan-Inspired
      • Pacific Northwest
      • Russian-Inspired
    • Baking
      • Bars
      • Breads
      • Cakes
      • Cookies
    • Holiday Recipes
      • Christmas
      • Friendsgiving
    • Season
      • Autumn
      • Winter
    • Condiments
  • SHOP
    • My Pantry Favorites
  • 12 Months of Dim Sum

Bakeroise

Vegan Filipino Afritada Inspired Tomato Stew

Mulled Pear and Apple Cider

Bakery Style Chocolate Chip Cookies

Shortcut Vegan Bolognese

Kimchi Chickpea Bowl

Hearty Kale and Chickpea Tomato Soup

Vegan Upside Down Pear Cake with Crushed Candy Caps

Golden Beets and Brown Rice Bowl

Vegan Longevity Noodles – Yī Miàn

Farewell, 2021. Hello, 2022!

12 Months of Dim Sum Project 2021

Fennel Cake with Lingonberry Sauce

Kimchi Chickpea Bowl

March 22, 2022

Affiliate Disclosure: As an Amazon Associate, I earn from qualifying purchases. Thank you for supporting Bakeroise.

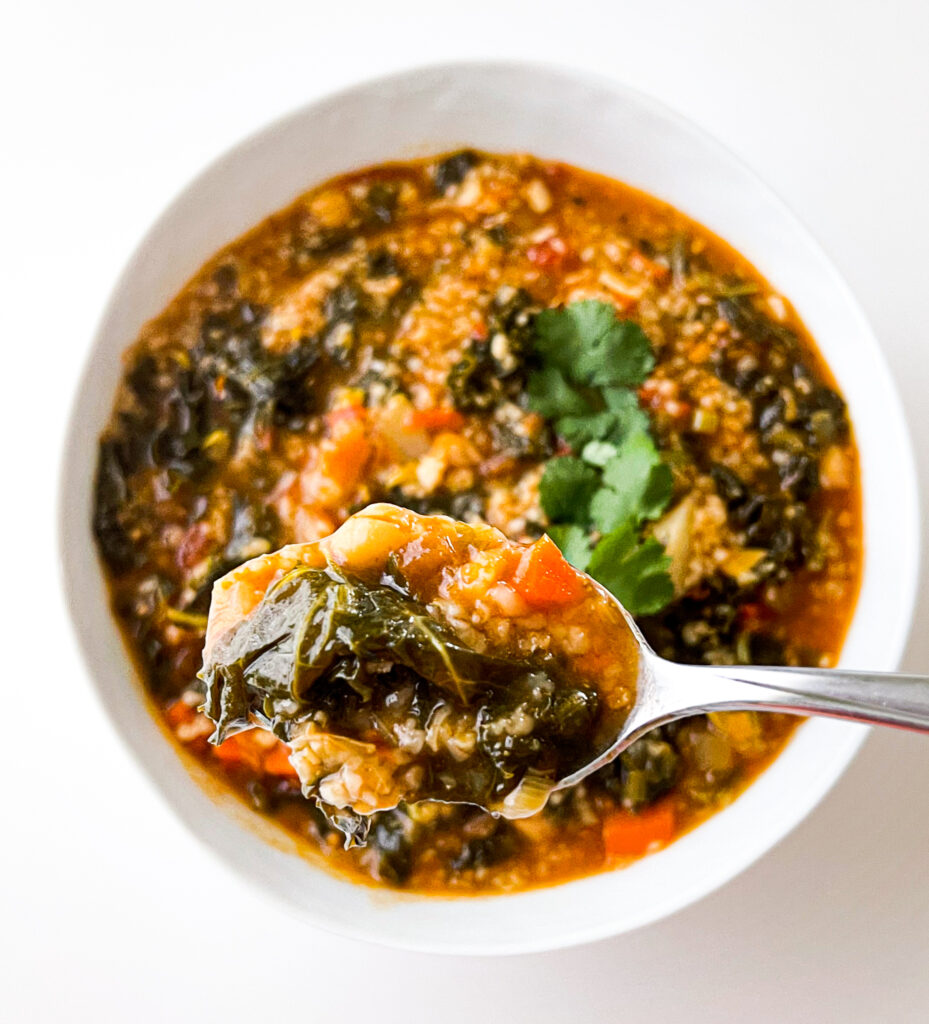
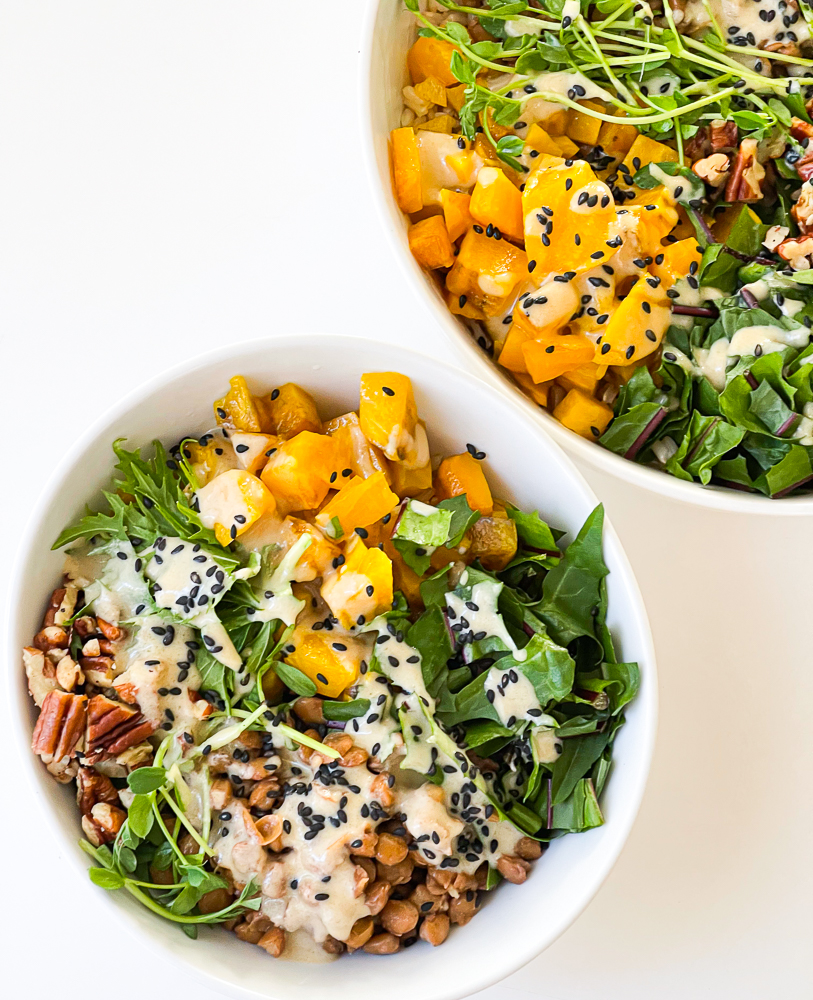
Happy Spring! This healthy vegan bowl loving mama is back with another, mostly homemade recipe: Kimchi Chickpea Bowl. What an…interesting combination right? Have no fear. It’s unexpectedly and unbelievably fantastic together.

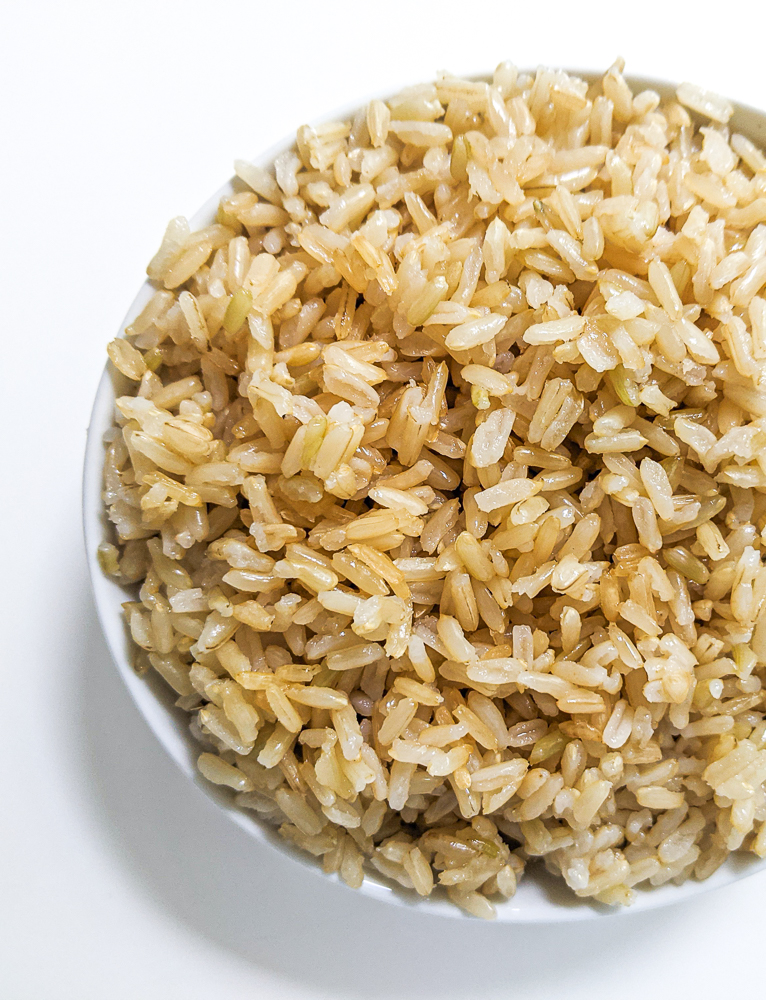
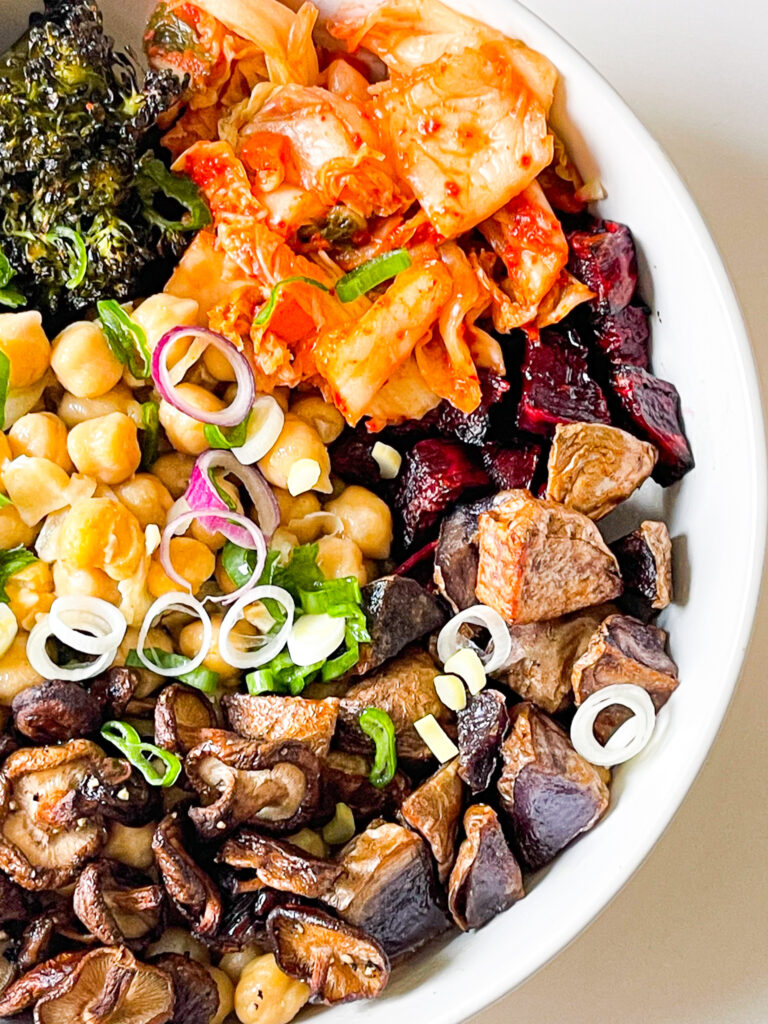
Since spring is here, I wanted something that was less soupy but still relatively easy. This is a simple yet tasty, colorful, untintentionally gluten-free, vegan bowl that’s packed with chickpeas, fingerling potatoes, red beets, crimini (also spelled: cremini) mushrooms, broccoli and spring onions. It also doesn’t rely on grains for heartiness so that’s one less thing to worry about.

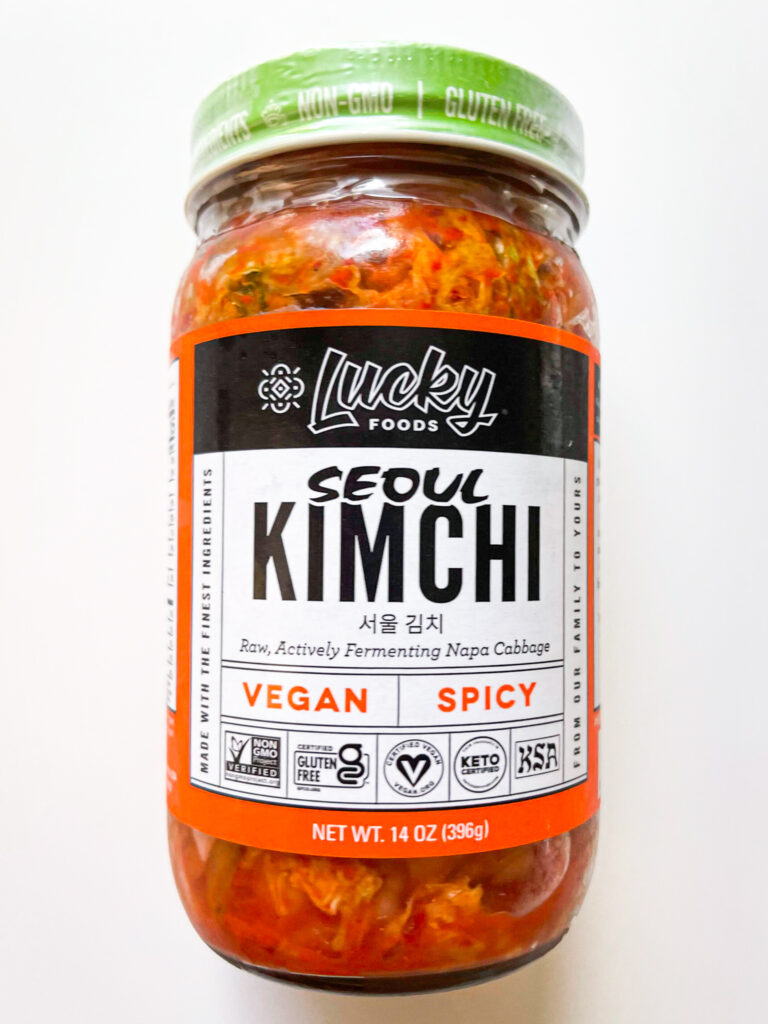
I wanted something that wasn’t only easy but had load of flavor, nutrients and spice. This is not like many unseasoned and bland vegan bowls out there as this one uses kimchi.

Why center kimchi in what would normally be a relatively boring bowl? Well….I guess I could be obnoxious and brag about traveling to Seoul, Korea but my original link to kimchi is much more humble. I simply used to live not too far from a Korean supermarkets and restaurants in Oakland, California. At the time, I wasn’t vegan and after having kimchi at a Korean restaurant many times, I finally bought my first jar of kimchi to add to my homemade fried rice and ever since then, I was hooked.

Kimchi found a permanent place in my fridge.

I dared myself to take a photo without stabilizing the kimchi. It was like a game. I clearly lost. Anyway, here’s a jar of vegan kimchi I love from Lucky Foods in Tualatin, Oregon.

Without the kimchi, this bowl would just be another plain nourishing bowl sans the grains.

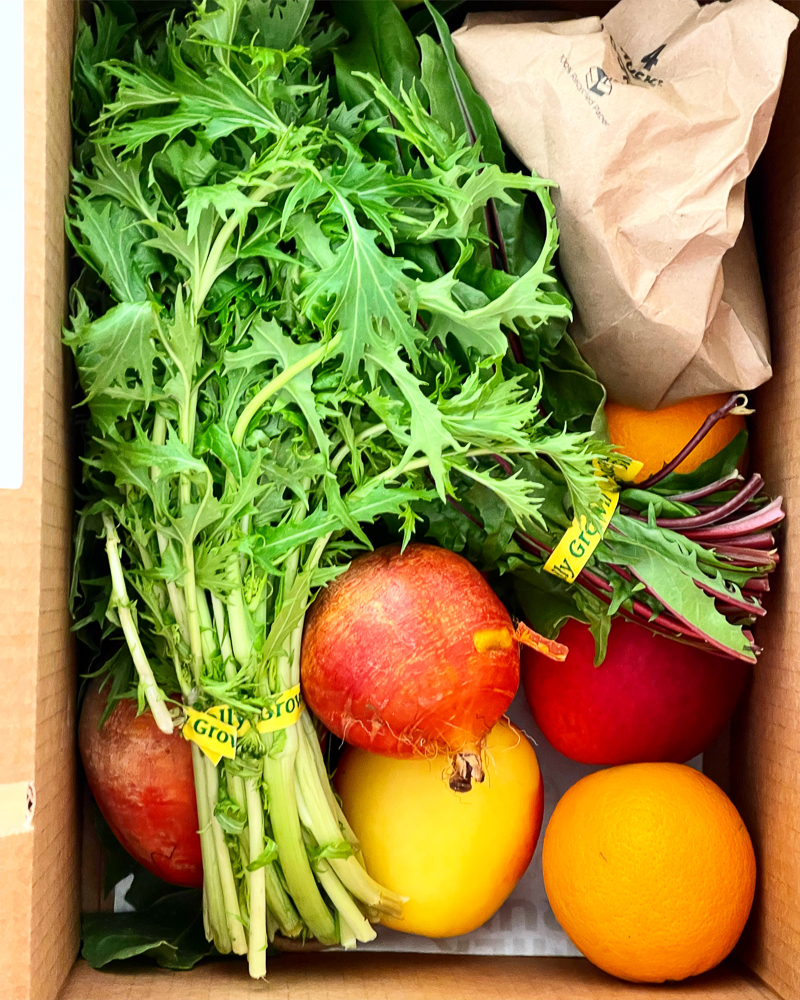
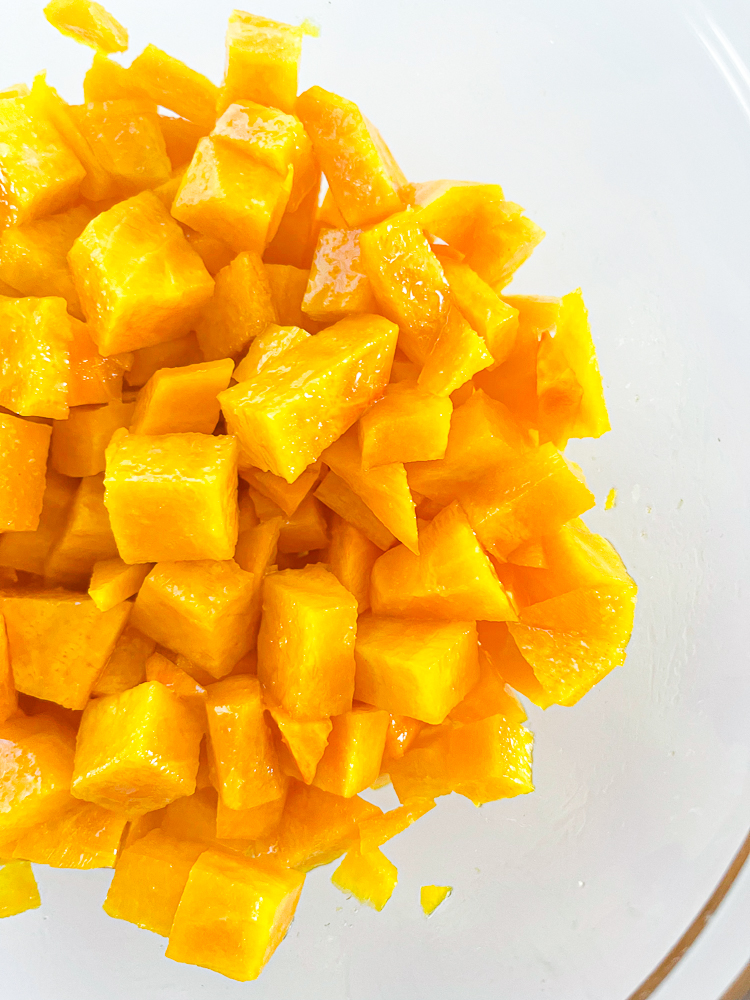
Another part of of the je ne sais quoi flavoring for the Kimchi Chickpea Bowl also comes from some golden nugget mandarins that I had delivered in my Milkrun box. Keep reading and you’ll see how I use them in this recipe.

The other local / Pacific Northwest ingredients are: broccoli from Pablo Munoz, French fingerling potatoes from Wong Potatoes, and purple spring onions from Vibrant Valley Farm.

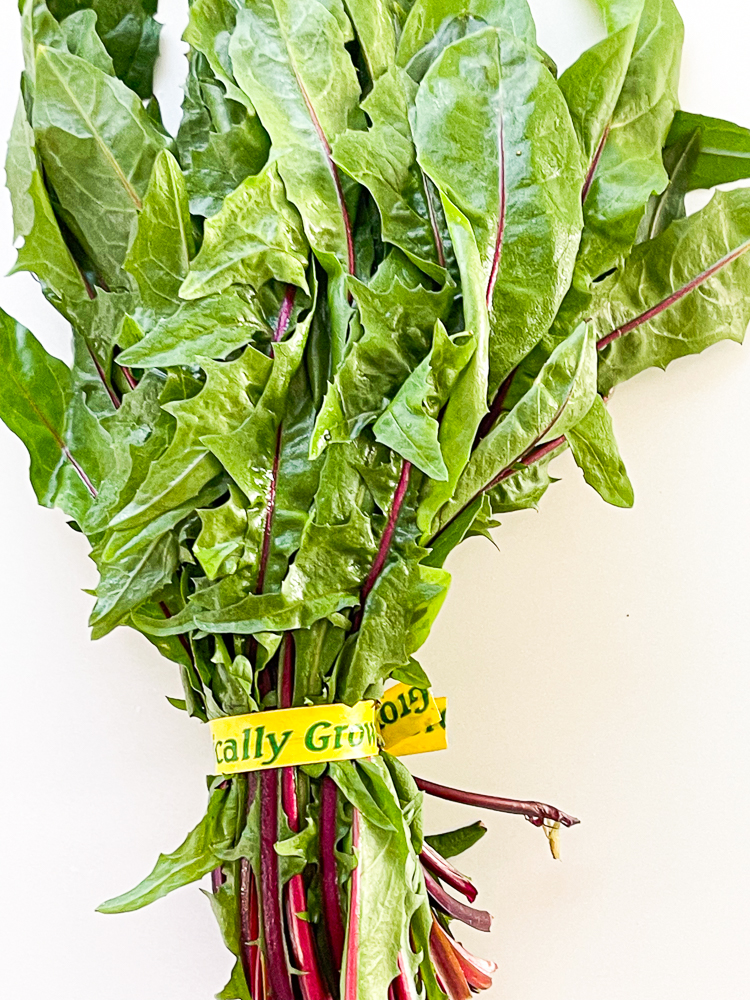
While I try to keep to mostly Pacific Northwest ingredients, I’ve been receiving some from California and they do not disappoint: golden nugget mandarins from Fruit World in Fresno and red beets from Tomatero in Watsonville.

Either way, the mix of all these chickpeas, roasted vegetables and kimchi will blow your mind.

So let’s make this bowl!

Equipment we need:

At least two mixing bowls

Medium sauce pan for the chickpeas

Two half sheet pans or something equivalent like one half sheet pan and two quarter sheet pans

Parchment paper or silicone mats unless greasing sheet

A second timer, in addition to the oven’s timer, since the vegetables have different cook times. I just use my phone or watch for this part.

Step-by-step Instructions:

First, we have to prepare our oven. We position the racks at center level and a lower level. Ultimately, this is how it will look after all the veggies are prepped:

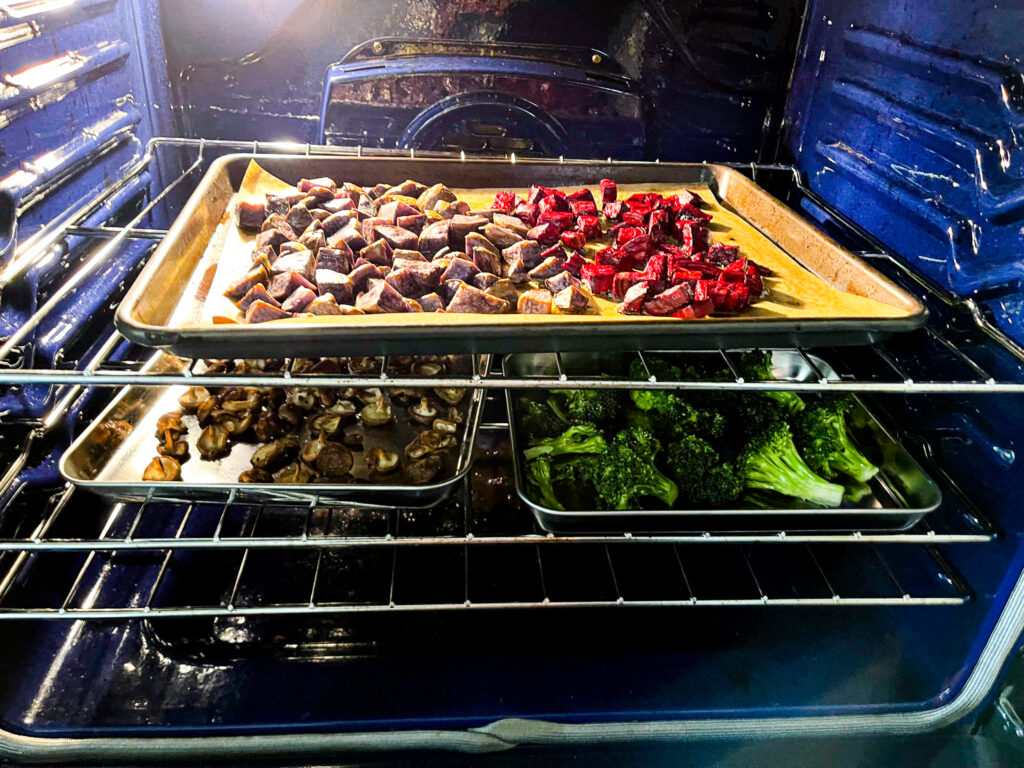
We preheat the oven to 400° F.

While the oven is preheating, we’re going to work on our base: the garlic chickpeas. In a medium saucepan on the stove, we will sauté our garlic in some olive oil for a few minutes. Then we will add the chickpeas and basically just let it get hot for a few minutes and then turn it to the low or warm setting until we need it for our bowl assembly.

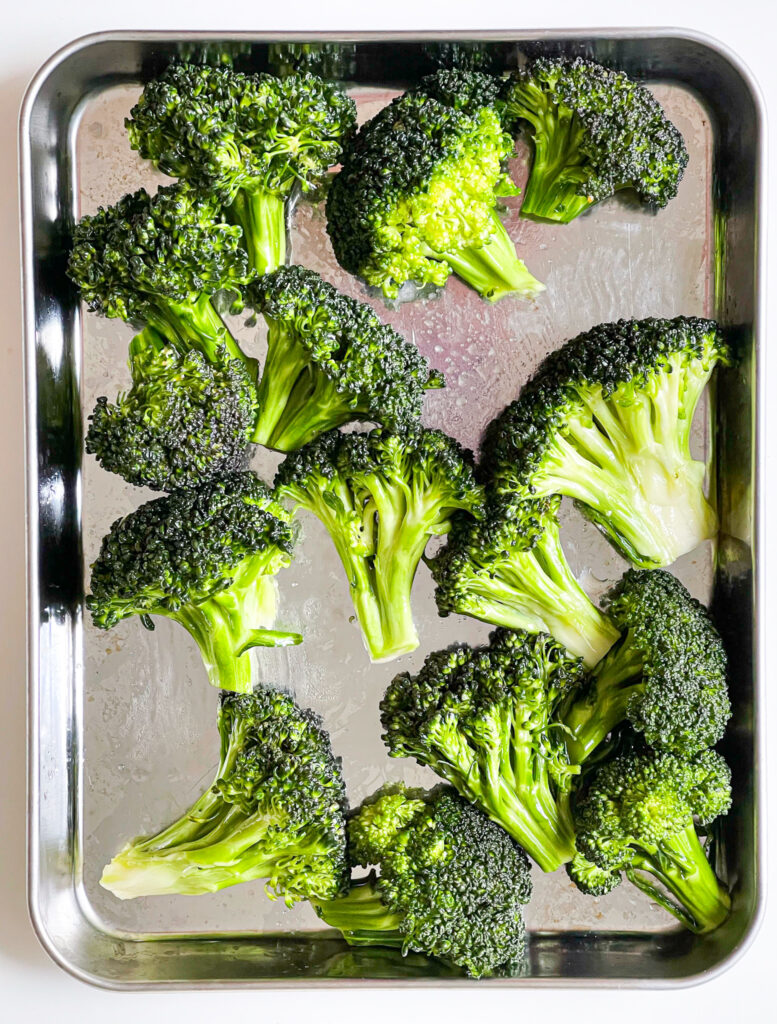
The next part is just coating, seasoning and roasting the vegetables.

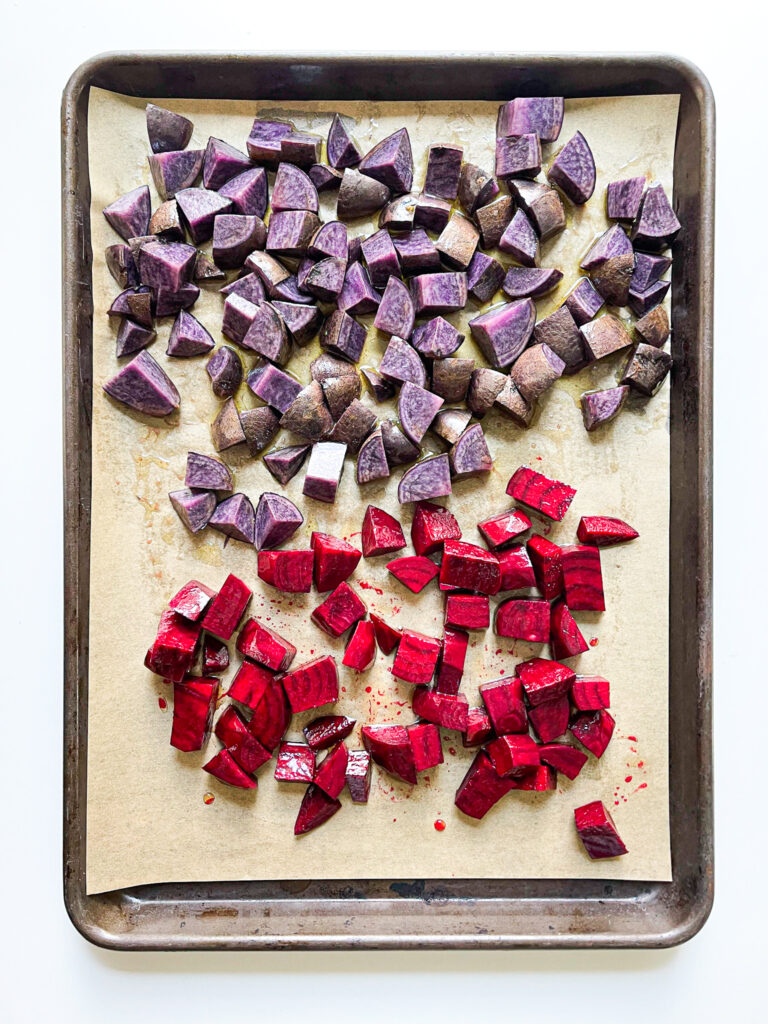
Coat and season the potatoes first with olive oil and salt and add to the baking sheet on one half in one layer. Then in the same bowl the potatoes were mixed in, add the beets and coat and season with the olive oil and salt again. Then add the juice of one mandarin and mix. Add those beets to the baking sheet on the other side, all just a single layer. Set that mixing bowl aside to use later.

Add the potatoes and the beets to the oven’s middle rack and start a timer for 40 minutes.

Since almost all the roasted vegetables have different cooking times, it’s important to have a second timer ready. Because once the potatoes go in, your original timer is going to be set for 40 minutes.

When the beets and potatoes are in, set a timer for 15 minutes. During those 15 minutes, start working on the crimini mushrooms. In a second mixing bowl, season it with olive oil and salt only.

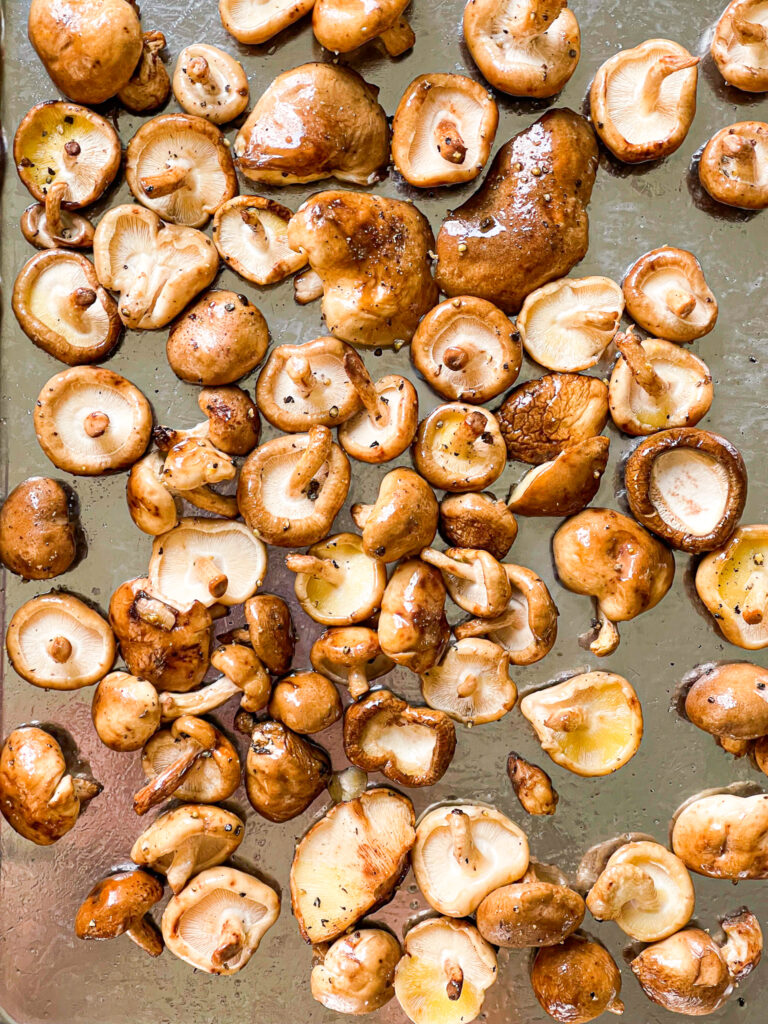
Then spread those out on another baking sheet in a single layer. If you’re using a half sheet, only use one half of the sheet. When the second timer goes off at 15 minutes, stick those little mushrooms in the oven in the rack below the beets and potatoes.

Once the mushrooms are in, set a timer for 10 minutes. Get the original bowl that the potatoes and beets were in and mix the broccoli in there with some olive oil, salt and juice of one mandarin. Mix and spread in one layer on a sheet like the other vegetables.

When the timer goes off at 10 minutes, add the sheet to the oven.

Just a note: If you’re only using two half sheets, then you’d obviously have to just add it to the second half sheet, making sure that you do it quickly and carefully so that the mushrooms and broccoli stay on their respective sides and so that not too much cooking time isn’t taken away from the mushrooms.

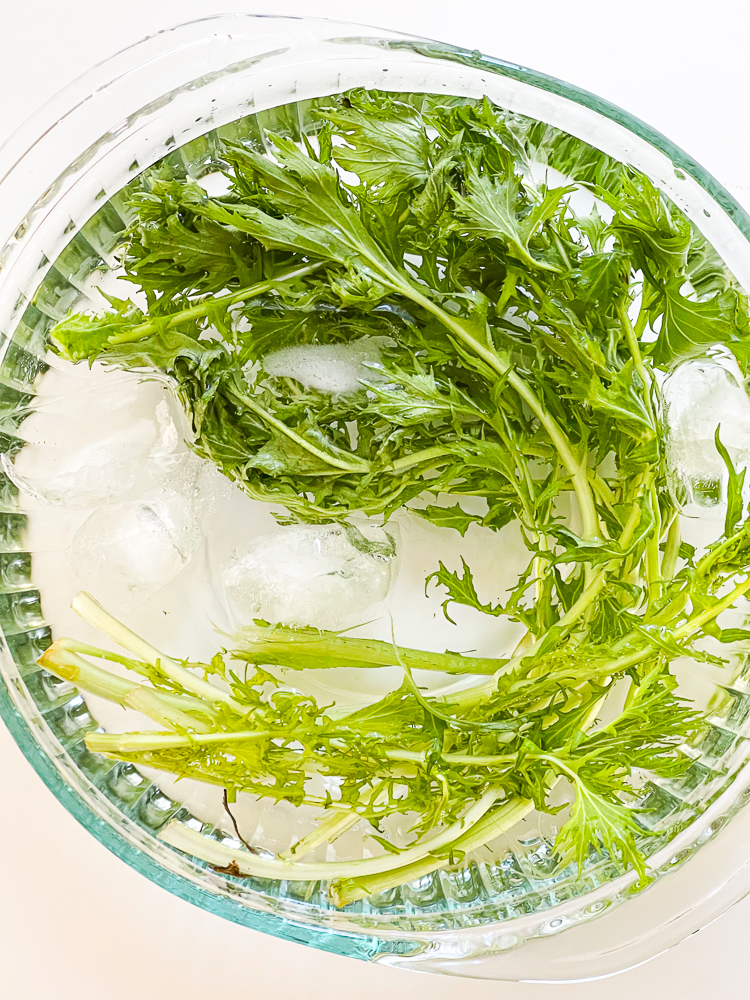
While everything is roasting, go ahead and cut up some fresh, rinsed purple spring onions for garnish and a little crunch and set aside.

At 45 minutes, everything should be done. Stir the chickpeas one last time and remove all the veggies from the oven.

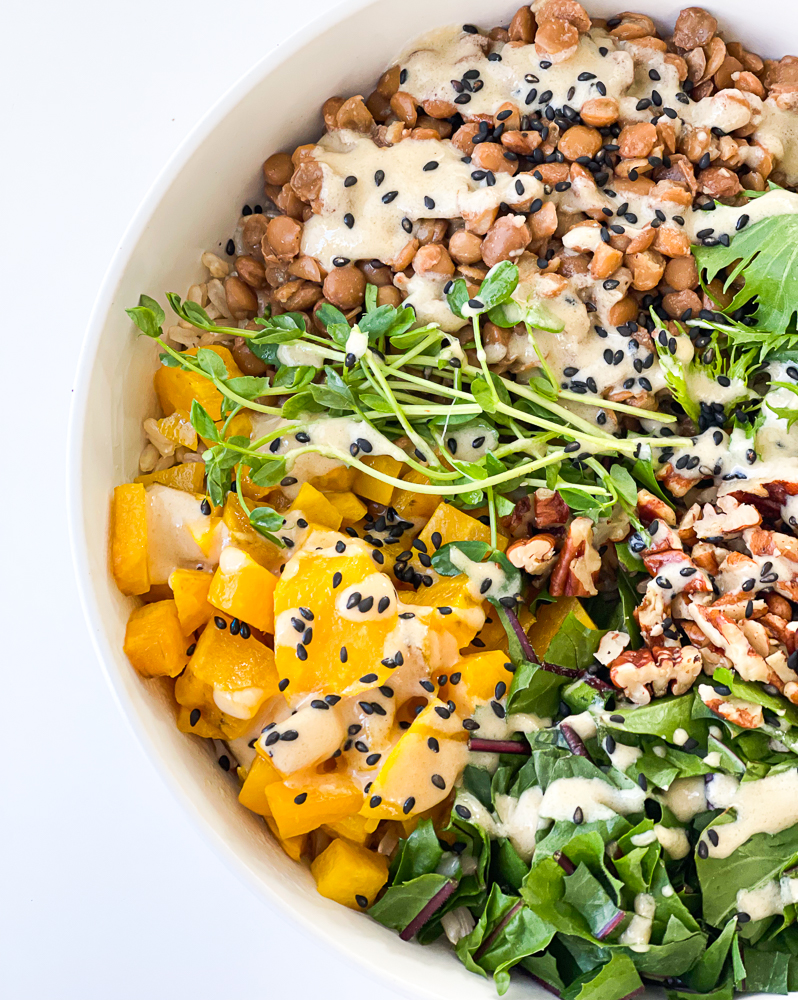
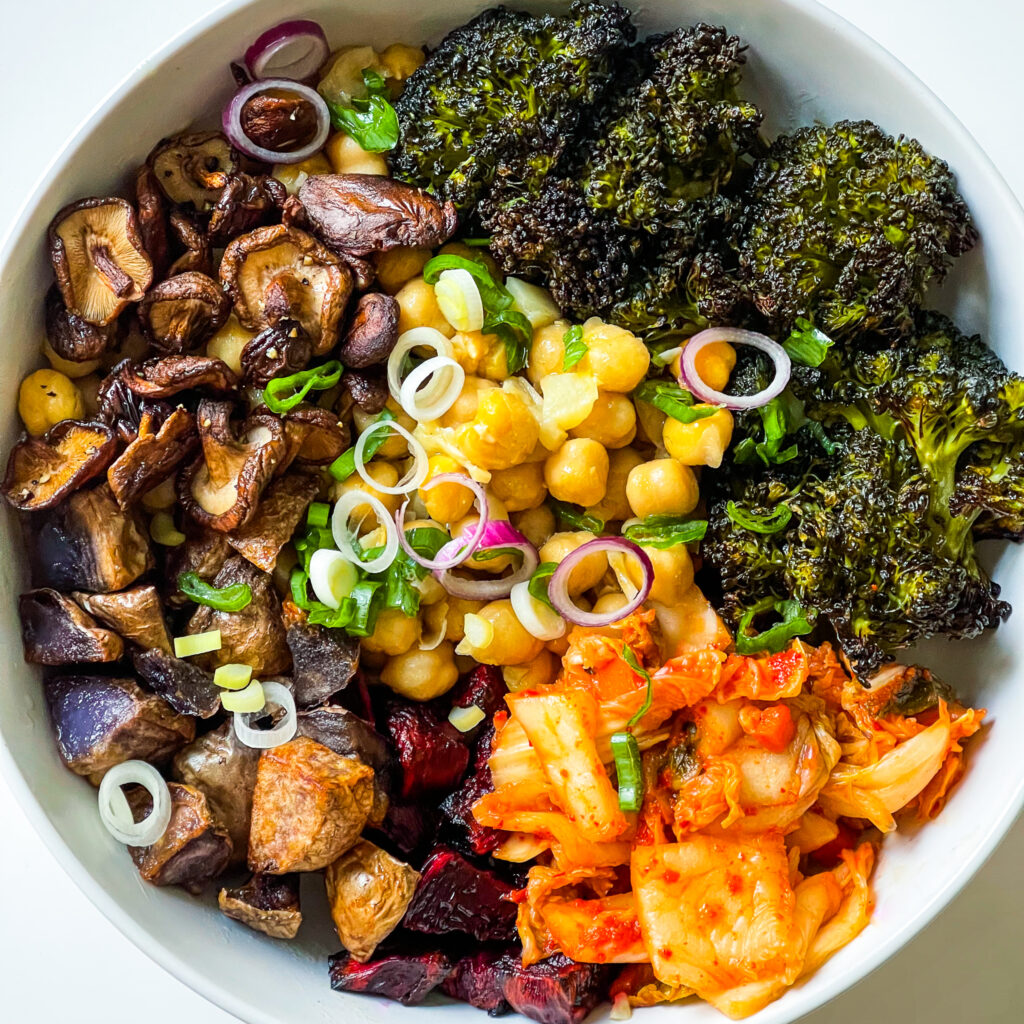
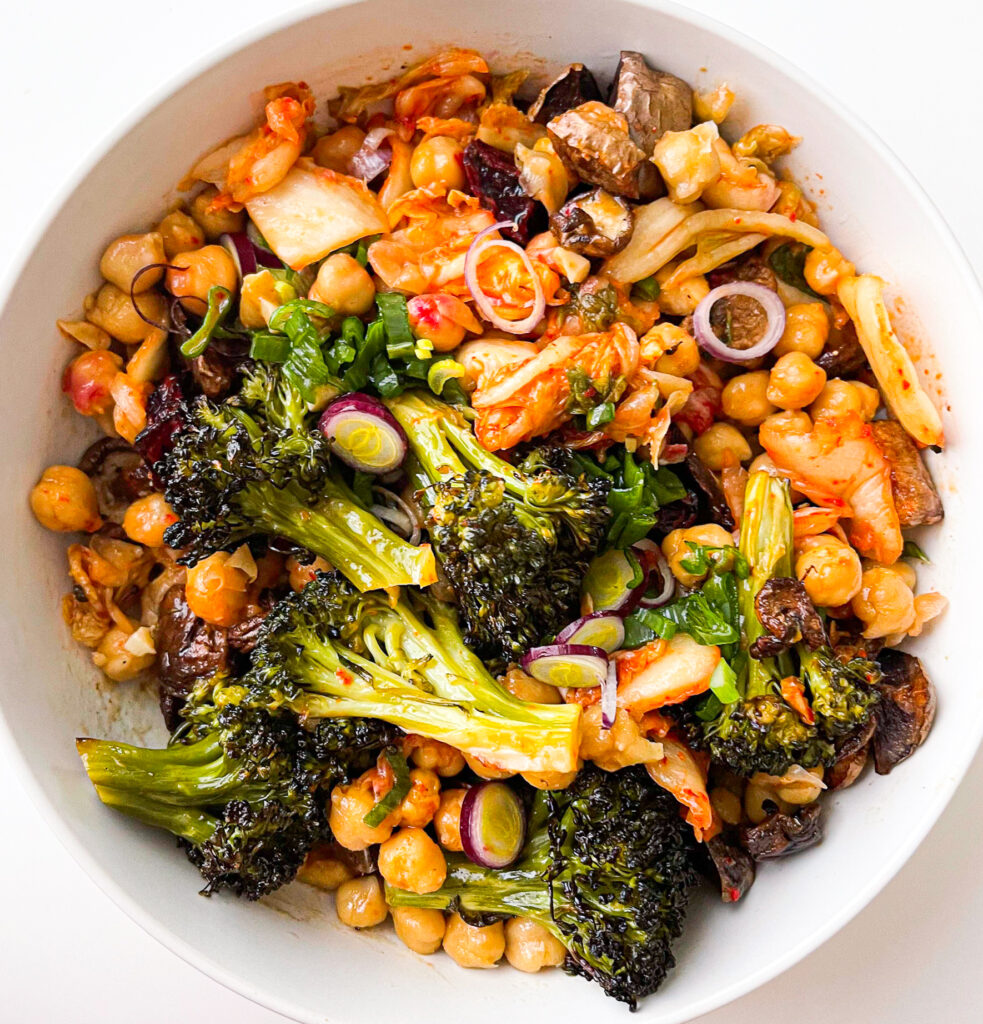
This recipe easily makes 3-4 bowls. To assemble, add chickpeas to each bowl and add each roasted vegetable one at a time inside the perimeter of the bowl. Make it colorful! Make sure to add about ¼ cup of kimchi as well for more crunch and a kick.

Then add the purple spring onions, perfect for spring!

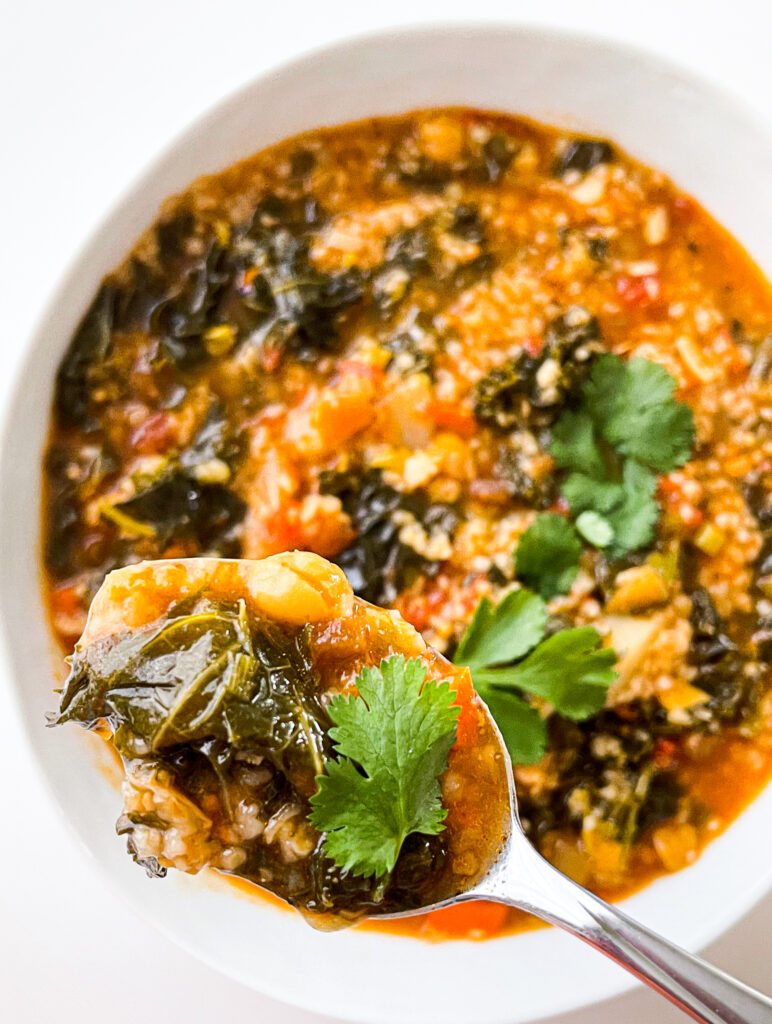
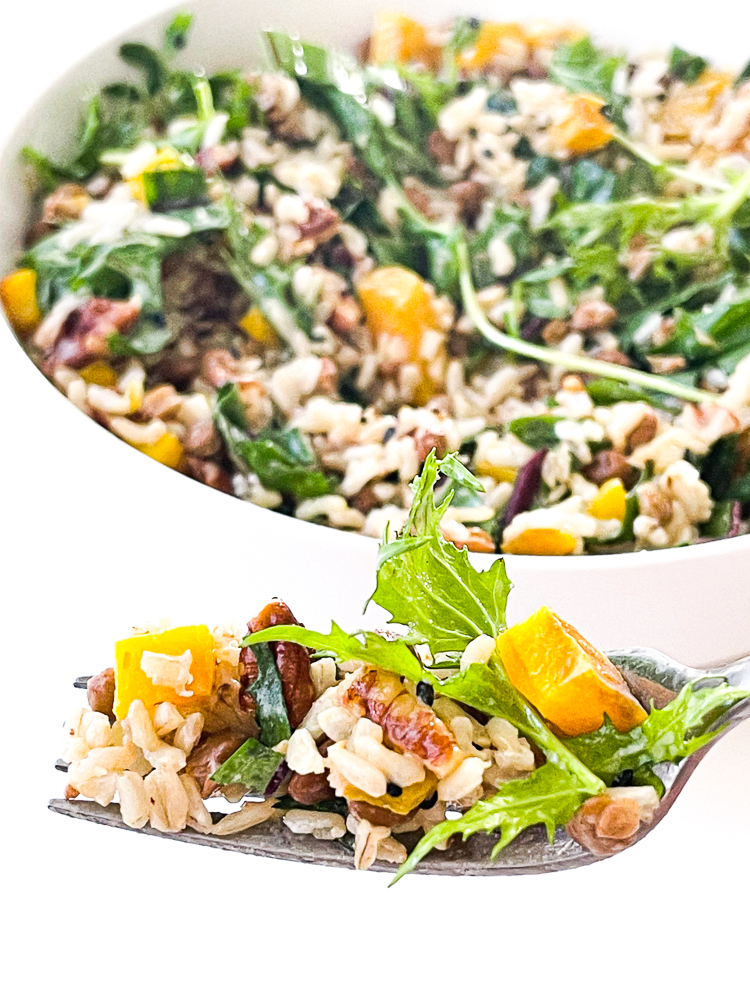
You can eat it how you want but I personally like to mix it all up like this when I do.

And for any leftovers, just pack them up separately and keep them in the fridge for 3-4 days.

Enjoy!

Print

Kimchi Chickpea Bowl

Print Recipe

A recipe that’s worth it and easy enough – Kimchi Chickpea bowl for non-boring palettes. 

  • Author: Jan Carlisle @ Bakeroise
  • Cook Time: 50
  • Total Time: 50 minutes
  • Yield: 3–4 servings 1x

Ingredients

Scale
  • ¼ cup olive oil, divided – to cover bottom of saucepan for chickpeas and coat the vegetables before roasting
  • 6 cloves of garlic, crushed and roughly chopped
  • 2 cans of chickpeas, drained and rinsed
  • 1 lb of french fingerling potatoes, cut into quarters
  • 6 beets, cut into ½–1” pieces
  • 2 pound of crimini mushrooms, whole
  • 1 pound Broccoli
  • Kosher salt
  • Olive oil
  • Jar of vegan kimchi
  • 1–2 purple spring onions for garnish


Instructions

  1. Position oven rack to middle and second oven rack 1-2 rows below. Preheat the oven to 400.
  2. On stovetop, bring a medium or large saucepan to medium heat. Cover the bottom with olive oil. Add the crushed garlic and cook for 2-3 minutes until aromatic, careful not to brown. When aromatic, add the chickpeas and cook at medium heat for another 2-3 minutes. Then set heat to low to keep warm until ready to use.
  3. In a medium mixing bowl, mix the cut fingerling potatoes with olive and a teaspoon of salt. When done, add to a parchment lined, baking sheet and spread the potatoes on one side.
  4. In the same mixing bowl, add the beets and cover with olive oil, salt and the juice of one mandarin. Mix thoroughly. Then add the beets to the other side of the sheet and set in the oven to cook at 45 minutes.
  5. Set a second timer for 15 minutes. During the 15 minutes, and in a second mixing bowl, mix the crimini mushrooms with olive oil, salt and fresh ground black peppercorn. Mix well and add crimini mushroom to second baking sheet. Once the second timer goes off at 15 minutes, place the tray of crimini mushrooms on oven rack underneath.
  6. Set the second timer for 10 minutes. During the 10 minutes, use the original mixing bowl the beets and potatoes were mixed in and add the broccoli with olive oil, salt and juice of one orange. Mix well. At 10 minutes, remove the baking sheet with the crimini mushrooms and add the broccoli (or alternatively, add the broccoli to its own mini baking sheet). Return to oven and continue cooking.
  7. While the broccoli is cooking with everything else, thinly slice the purple spring onions for garnish. 
  8. Once everything is done at 45 minutes, turn off the oven heat and remove everything on oven.
  9. Assemble bowls: There are enough for four servings. Add the garlic chickpeas to the bottom of the bowl, making a bed. Then add the potatoes, beets, mushrooms and broccoli. Add about ¼ cup of kim chi and please adjust to your liking and spice level. For garnish and more crunch, sprinkle sliced purple spring onions over the bowl. 

Did you make this recipe?

Share a photo and tag us — we can’t wait to see what you’ve made!

Hearty Kale and Chickpea Tomato Soup

March 14, 2022

Affiliate Disclosure: As an Amazon Associate, I earn from qualifying purchases. Thank you for supporting Bakeroise.

I’m back with an Hearty Kale and Tomato Soup recipe. It’s actually a pantry recipe made with things I already had in the kitchen. Since winter is almost over, I wanted to share just one more soup recipe because it’s just so easy!

This soup is much more hearty than your traditional tomato soup but the generous helping of tomatoes helps make this dish. Did you know that MSG naturally occurs in tomatoes? Yeah. This is why seasonal, salted tomatoes taste so good!

In the winter, I always use canned tomatoes for obvious reasons. And in this recipe, I double down on the umami by adding both Italian canned tomatoes and a jar of Mexican red salsa to add even more richness.

Bulgur wheat is the grain for this soup and loads of nutrients come from the chickpeas, kale, carrots and leeks.

So how do we make it our Hearty Kale and Chickpea Tomato Soup?

It’s super easy. First, we add a head of crushed and chopped garlic and roughly chopped ginger into the instant pot and sauté them in oil.

On sauté mode, we cook the chopped carrots, sliced leeks and the chopped potatoes with a tablespoon of cumin and a teaspoon of kosher salt. We stir regularly and let it cook for a few minutes. If the bottom of the pan browns a tiny bit, don’t worry.

We turn off the Instant Pot and add both the salsa and the canned tomatoes, including the juice of the tomatoes in the can. The juices from both containers will help deglaze the bottom of the pot. We stir until everything is deglazed and turn off the Instant Pot. Ensuring that the bottom is deglazed will prevent burning.

After deglazing, we add everything else: the chickpeas, kale, bulgur wheat and water. Stir and pressure cook for 4 minutes. When done, carefully do a manual release to let out the steam. Stir and ladle into bowls. Top each bowl with a drizzle of good olive oil and maybe even some fresh ground black pepper to taste. Optional cilantro or Italian parsley for garnish.

Print

Hearty Kale and Chickpea Tomato Soup

Print Recipe

Hearty, gingery and garlicky kale and chickpea tomato soup made in the Instant Pot for ease.

  • Author: Jan Carlisle @ Bakeroise

Ingredients

Scale
  • 1 head of garlic, peeled, crushed and roughly chopped
  • 2 inches ginger, unpeeled and roughly chopped
  • 2 carrots, chopped
  • 1 leek, thinly sliced into half rings
  • 1 tablespoon of ground cumin
  • 1 russet potato, unpeeled and chopped into ½ inch pieces
  • 1 16 oz jar of your favorite red, chunky salsa
  • 14 oz can of diced Italian tomatoes (like actually from Italy)
  • 1 can of chickpeas, drained and rinsed
  • 1 bunch of kale, stems removed and leaves torn into 2–3 inch pieces
  • 1 cup bulgur wheat, rinsed
  • 6 cups of water
  • Avocado oil for coating pan

Instructions

  1. Bring Instant Pot to sauté mode and add enough avocado oil to cover the bottom of the pot. Add the garlic, ginger, carrots, potatoes, leeks, cumin and half a tablespoon of salt into the pan. Stir well to mix. Cook for 2-3 minutes.
  2. Add the kale, salsa, diced tomatoes, bulgur wheat, chickpeas and water and mix well again to deglaze the bottom of the pot. The juices from the tomato can helps with this.
  3. Turn off sauté mode and cover the pot with the lid, fully sealing it.
  4. Turn on pressure cook mode and cook at 4 minutes.
  5. When done, release manually.
  6. Serve with good olive oil on top. Garnish with cilantro or Italian parsley (optional)

Notes

  1. Any generic red salsa should work so long as it’s chunky. It helps with both taste and texture. I have not tested this with a red mango salsa yet.
  2. Make sure the potatoes are actually cut at half an inch so they cook through.

Did you make this recipe?

Share a photo and tag us — we can’t wait to see what you’ve made!

Vegan Upside Down Pear Cake with Crushed Candy Caps

February 16, 2022

Affiliate Disclosure: As an Amazon Associate, I earn from qualifying purchases. Thank you for supporting Bakeroise.

Today I am sharing with you my Vegan Upside Down Pear Cake with Crushed Candy Caps. I love baking with ingredients that are from the Pacific Northwest and this recipe is easy and uses both warren pears and candy cap mushrooms, both from Oregon.

Dehydrated candy cap mushrooms

These candy caps were given to me by a friend, an avid mushroom hunter. Candy cap mushrooms don’t really have a distinct taste but they sure do have a strong smell. However, when cooking and baking with them, it gives the final product a distinctive sweet, maple scent that even maple syrup itself doesn’t tend to give off – at least not as much.

Pears are in season here in Oregon and I got some Warren pears from Kiyokawa Family Orchards in my Milkrun box so I used those for this recipe.

Warren pears from Kiyokawa Orchards

Since I generally don’t eat pears as snacks, I use them for baking whenever they fall into my lap and I tend to use apples and pears interchangeably.

The Vegan Upside Down Pear Cake with Crushed Candy Caps recipe is pretty straightforward so you can go directly to the recipe but I wanted to share how I switched up this recipe and built off of the recipe in the New York Times.

I was able to successfully veganize Mark Bittman’s Maple Pear Upside-Down Cake recipe by replacing the following ingredients below.

Butter: Instead of using plain, regular butter, I used Miyoko’s vegan butter, which uses cashews. This, makes the cake not nut-free, and I’ve only tested this with Miyoko’s since that’s my go-to vegan baking butter.

Brown Sugar: To keep it vegan, I used organic light brown sugar. In Bittman’s recipe, the brown sugar listed isn’t specified to be light or dark brown. The difference in taste between the two sugars is obvious. In short, dark brown sugar is much sweeter and has an almost molasses flavor. Light brown sugar is sweet enough but significantly less sweet than brown.

Sugar: I made sure to use organic cane sugar as conventional sugar is filtered through bone char for coloring.

Large eggs: I replaced each of the two eggs in the original recipe with ¼ cup of good olive oil. I used the Partanna Sicilian Extra Virgin Olive Oil – the same one I use for pizza sauce.

Milk: I pretty much use any unsweetened vegan milk for baking recipes. Unsweetened soy or unsweetened almond milk are great contenders. They have neutral enough flavors that they don’t affect the overall taste of the cake. Don’t use anything like sweetened oat milk or coconut milk out of a can because they will completely change the taste of what we originally wanted.

Aside from veganizing the recipe, I made additional changes:

I wanted the pears in this Vegan Upside Down Pear Cake with Crushed Candy Caps recipe to be almost overripe. In the past, I’ve noticed that when baking with apples and pears, the less ripe fruit obviously held their shapes more. However, what I wanted wasn’t necessarily aesthetics of the sliced fruit but for the melt-in-your-mouth effect once the food touches the mouth.

Bitmann’s recipe originally called for all-purpose flour but a rule of thumb for me is that when I’m making a cake, I just use cake flour. I’ve tested cakes with both all-purpose flour and even with cakes that aren’t necessarily supposed to be fluffy, the cake flour always yielded better cakes.

I reduced the maple syrup and replaced the taste with scent from the crushed candy caps and powdered sugar dust on top.

Last but not least, I added the candy cap mushrooms. They were dried when given to me and the smell was so entrancing that I decided to grind it up to a powder in my mortar and pestle and use the whole batch. It was about half a tablespoon’s worth.

This Vegan Upside Down Pear Cake with Crushed Candy Caps recipe was a hit with family and friends. Try out this recipe and let me know what you think!

Print

Vegan Upside Down Pear Cake with Crushed Candy Cap

Print Recipe

My veganized take on Mark Bittman’s Upside Down Pear Cake that uses good olive oil instead of eggs and has crushed candy cap mushrooms in the cake batter.

  • Author: Jan Carlisle @ Bakeroise
  • Cook Time: 50
  • Total Time: 50 minutes
  • Diet: Vegan

Ingredients

Scale
  • 11 tablespoons unsalted vegan butter, divided
  • ¼ cups packed or 49 grams of organic light brown sugar
  • 3 pears, peeled, cored and thinly sliced
  • ¾ cups or 172 grams organic cane sugar
  • 1 teaspoon vanilla extract
  • ½ cup good olive oil
  • 1 ½ cups or 320 grams of cake flour
  • 1 ½ teaspoons baking powder
  • ¼ teaspoon kosher salt
  • ½ cup unsweetened vegan milk
  • ½ tablespoon of fresh ground candy cap mushroom 


Instructions

  1. Preheat oven to 350° F.
  2. Bring a small pan to medium heat. Melt three tablespoons of the vegan butter and immediately add the brown sugar. Cool until brown sugar is dissolved.
  3. Bring heat to a boil and cook for another 1-2 minutes, stirring to prevent sticking and burning. When done, remove from heat and set aside.
  4. When the mixture has cooled down, pour into a 9-inch, parchment-lined baking pan and arrange the pear slices in an overlapping circle on top, starting from the middle, making a pattern resembling a pinwheel.
  5. Add the remaining eight tablespoons of unsalted vegan butter and organic cane sugar into the standing mixer’s bowl. Using whisk attachment, beat the remaining vegan butter and the organic cane sugar on high until light and fluffy.
  6. Add the vanilla extract and olive oil gradually. Keep mixing until smooth.
  7. In another large bowl, combine cake flour, baking powder , ground candy cap mushrooms and salt.
  8. Alternate adding cake flour mixture and vegan milk into the butter mixture, three times.
  9. With a spatula, carefully and evenly spread batter over the pears, careful not to disturb the pears.
  10. Bake on middle rack in oven for 50 minutes or until a light to medium golden brown.
  11. Insert toothpick in the middle of of the cake to test for doneness. If dry, it’s done. Let cake cool for 5 minutes. If it’s not dry, let bake for another 5-10 minutes or until done according to toothpick test.
  12. After 5 minutes of cooling in a pan; put a plate on top of cake and carefully flip it so plate is on bottom and pan is on top. Let sit in a covered container overnight to let the flavors settle and develop. 
  13. Before serving, add a dusting of powdered sugar on top, letting it soak into the pear slices on top.

Did you make this recipe?

Share a photo and tag us — we can’t wait to see what you’ve made!

Golden Beets and Brown Rice Bowl

February 7, 2022

Affiliate Disclosure: As an Amazon Associate, I earn from qualifying purchases. Thank you for supporting Bakeroise.

Today I share with you my Golden Beets and Brown Rice Bowl recipe. I recently realized that I haven’t shared any kind of grain bowl recipe on this blog which is wild since I’ve been making grain bowls ages ago – way before I decided to adapt a vegan diet in 2015.

Living in the Pacific Northwest for over the past decade, I’ve been fortunate to have access to some of the best produce I’ve ever had. We may not be able to grow good avocados and lemons here but we have kale and I can easily get fresh wasabi root whenever I want!

This Golden Beets and Brown Rice Bowl recipe is not only is packed with nutrients but, with the exception of the Perfect Oven Brown Rice which cooks on its own, takes less than an hour to make.

It’s easy to prep and cook everything else while the Perfect Oven Brown Rice is cooking.

I created this Golden Beets and Brown Rice Bowl recipe based on some of the produce I received in my Milkrun box recently.

The Mizuna is the green on top.

The dandelion greens and Mizuna lettuce are both from Groundwork Organics and the golden beets are from CA Organics.

The dandelion greens

While the Perfect Oven Brown Rice is cooking in the oven, we do everything else.

We start off making our sauce since it can sit. We take four tablespoons of sesame tahini, juice of one orange, tablespoon of olive oil and half a teaspoon of salt. We mix it all in a small bowl and adjust seasonings to taste. When done, we set it aside in the fridge to get it out of the way.

We chop up our golden beets by peeling and cutting them into 1 inch pieces then set them aside.

In a medium saucepan, we take our pecans and toast them over medium heat in olive oil, ground peppercorn and kosher salt. Careful not to burn so toss regularly. When toasted, we set the pecans aside uncovered.

Using the same saucepan, we heat up the drained and rinsed, lentils on medium heat for a few minutes, just to get it hot. We salt to taste for the lentils.

Thirty minutes before the brown rice is done cooking, we add our chopped golden beets to a baking sheet on some parchment paper or silicone mat. Salt and drizzle olive oil liberally to bring out the sweetness of the golden beets. Quickly add to bottom tray in the oven to cook. Remove after 25 minutes to allow to cool down before rice is done cooking.

Ten minutes before the rice is done cooking, we cut up, rinse, shake off to dry our dandelion greens and Mizuna lettuce. We also rinse the pea shoots if it needs it.

How to revive wilted Mizuna lettuce

Doing all of this prep too early, by the way, will cause the Mizuna lettuce to wilt so save it for the very end. This was a problem for me the first time I made this recipe so I had to revive it.

At this point, we wait for the rice to be ready. When ready, we add rice to a bowl and top it with the lentils, toasted pecans, dandelion greens, Mizuna lettuce, pea shoots and drizzle the tahini sauce over it. Optional: Add toasted black sesame seeds.

And obviously: Enjoy your Golden Beets and Brown Rice Bowl! Adjust everything to how you like it. That’s what’s great about these kind of bowls. You can easily make it your own and tailor it to fit your specific taste!

Print

Golden Beets and Brown Rice Bowl

Print Recipe

Awesome tasting, actually nutritional, very seasonal, West Coast-inspired winter bowl that uses fresh vegetables, pantry ingredients and takes less than one hour to make. 

  • Author: Jan Carlisle @ Bakeroise
  • Cook Time: 60
  • Total Time: 60
  • Yield: 3 bowls 1x
  • Diet: Vegan

Ingredients

Scale

For rice:

  • 1 ½ cups long-grain brown rice
  • 2 ⅓ cups water
  • 2 tablespoons avocado oil
  • 1 teaspoon kosher salt

For orange olive oil tahini sauce:

  • Four tablespoons of sesame tahini,
  • Juice of one navel orange,
  • Tablespoon of extra virgin
  • ½ teaspoon of salt

For salted pepper pecans:

  • 2 cups of whole pecans
  • ¼ teaspoon of fresh ground black pepper (adjust to your liking)
  • 1 tablespoon of olive oil

For everything else:

  • 2 large golden beets
  • 1 14.5 oz can of lentils, drained and rinsed
  • ½ bunch of dandelion greens
  • ½ bunch of Mizuna lettuce
  • About ⅓ cup of pea shoots
  • Salt for seasoning
  • Optional: black toasted sesame seeds 

Instructions

  1. Set one oven rack in the middle and a second one two positions underneath – enough for a flat baking sheet to fit.
  2. Make your Perfect Oven Brown Rice by using this recipe. Once it’s cooking, come back to this recipe. 
  3. In a small bowl, we mix the sesame tahini, juice of one orange, tablespoon of olive oil and half a teaspoon of salt and adjust seasonings and ingredients to taste. Set aside.
  4. We peel and roughly chop our golden beets into 1-inch pieces and set aside. We will cook shortly. 
  5. To make our salted pepper pecans, we take a medium sauce pan and bring it to medium heat. Once hot, we drizzle a tablespoon of olive oil at the bottom. We add our pecans and toast it for 3-5 minutes with fresh cracked pepper and about half a teaspoon of salt. Careful not to burn. Slight browning is okay. D not char. 
  6. Empty the pecans onto a plate and set aside, uncovered.
  7. In the same saucepan previously used for the pecans on medium heat, add the rinsed and drained lentils. Add some olive oil and salt to taste and heat up the lentils for 3-4 minutes, just to get them hot enough. Avoid anything bubbling up or burning the bottom. When done, cover and leave on low or warm setting.
  8. Once it’s been 30 minutes of brown rice cooking, spread the pieces of golden beets, in one layer, over a parchment-lined or silicone mat-lined baking sheet. Salt and drizzle with olive oil liberally. Quickly stick it in the oven on the rack beneath the rice and cook for 25 minutes. Remove after 25 minutes (five minutes before the rice is done cooking) and set aside to let cool.
  9. In the last 5 minutes of the rice cooking, rinse and roughly chop the Mizuna lettuce and the dandelion greens and set aside. Also rinse the pea shoots (and of course shake off all the greens to dry). Set aside to save for assembly.
  10. When the rice is done cooking, remove from the oven and let it sit covered for a couple of minutes. Then fluff with a rice paddle. 
  11. To assemble: add rice to a bowl, then top with the pecans, lentils, golden beets, dandelion greens, Mizuna lettuce and pea shoots. Drizzle the top with the tahini sauce and add black toasted sesame seeds if you’d like.

Notes

  • This makes 3 generously sized bowls.

Did you make this recipe?

Share a photo and tag us — we can’t wait to see what you’ve made!

  • « Go to Previous Page
  • Page 1
  • Page 2
  • Page 3
  • Page 4
  • Interim pages omitted …
  • Page 16
  • Go to Next Page »

Primary Sidebar

Categories

Recent Recipes

  • Vegan Filipino Afritada Inspired Tomato Stew
  • Mulled Pear and Apple Cider
  • Bakery Style Chocolate Chip Cookies
  • Shortcut Vegan Bolognese
  • Kimchi Chickpea Bowl
  • Facebook
  • Twitter
  • Instagram
  • Pinterest

Calendar

June 2025
M T W T F S S
 1
2345678
9101112131415
16171819202122
23242526272829
30  
« Dec    

Archives

  • December 2023
  • November 2023
  • September 2023
  • September 2022
  • March 2022
  • February 2022
  • January 2022
  • December 2021
  • November 2021
  • October 2021
  • September 2021
  • August 2021
  • July 2021
  • June 2021
  • May 2021
  • April 2021
  • March 2021
  • February 2021
  • January 2021

Recent Comments

  • Jan on Vegan Longevity Noodles – Yī Miàn
  • Kim on Vegan Longevity Noodles – Yī Miàn
  • Jan on Vegan Mongolian Beef Inspired Soy Curls
  • Jenn P on Vegan Mongolian Beef Inspired Soy Curls
  • Jan on 10 Ingredient Vegan Siomai

Footer

↑ back to top

About

  • Privacy Policy
  • Disclaimer
  • Terms & Conditions

Newsletter

  • Sign Up! for emails and updates

Contact

  • Contact
  • FAQ

As an Amazon Associate I earn from qualifying purchases.

Copyright © 2020 Brunch Pro on the Brunch Pro Theme