Affiliate Disclosure: As an Amazon Associate, I earn from qualifying purchases. Thank you for supporting Bakeroise.

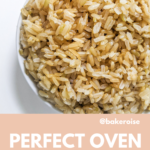
Hey y’all! Today I share with you my Perfect Oven Brown Rice recipe. A recipe that allows your to steam rice in the oven instead of a rice cooker! This brown rice would go perfectly with my 30-minute vegan Filipino afritada.
As I love to make it known, I’m Filipina-American. I grew up in a traditional Philippine household which means I grew up eating white rice. Outside of the home, from the white basmati rice at Indian restaurants to my a good friend’s tasty Mexican rice, white rice was simply a staple in my meal. Brown rice was a nonexistent option at the time.
Obviously I still prefer white rice – as evident in recipes such as my adobo one which encourages pairing with white rice or this Instant Pot congee recipe or vegan Filipino champorado recipe both of which straight up use white rice as the base for each dish!
However, it’s good to switch it up especially if I want my kid to grow up eating a variety of foods. Unfortunately, brown rice can take up to two hours when using our rice cooker. So I needed to test out some different ways to make the brown rice.
I came across this oven brown rice recipe from Cooks Illustrated that I thought would be a good starting point. For those not familiar with Cooks Illustrated, they are basically The Authority In The Kitchen. They know All The Things. I’ve been a fan for over a decade now thanks to my partner who was already an avid home cook when we met. He had their magazines and, present day, I am now a regular reader of their site and love watching America’s Test Kitchen and Cooks Country videos. Both shows aren’t flashy like the ones on the food/cooking channels but are instead more down-to-earth and technical yet warm and relatable.
So the recipe…how was it? It was pretty awesome, unsurprisingly. However, we all have our preferences and I had to make a few changes based on my own. Yes, it’s possible to not blindingly follow all the rules. Mostly, I changed the amount of salt and substituted the oil.
This perfect oven brown rice passed the kid test. Not only does it come together in almost half the time but, in my opinion, tastes way better than plain ol’ steamed brown rice because of the avocado oil and salt that actually makes it tasty and not like cardboard.
While it would be good paired with this chickpea soup or even one of my partner’s favorite dishes, my vegan Filipino afritada, it can actually stand on its own! In fact, once I got it right, I ate a whole cup of it to “test it out”.
Oops. Ha kidding. Totally did that on purpose!
So how do we make this perfect oven brown rice? Here we go.
First we preheat our oven to 375°F and position our rack in the middle.
We then gather our four ingredients: long grain brown rice, water, avocado oil and kosher salt.

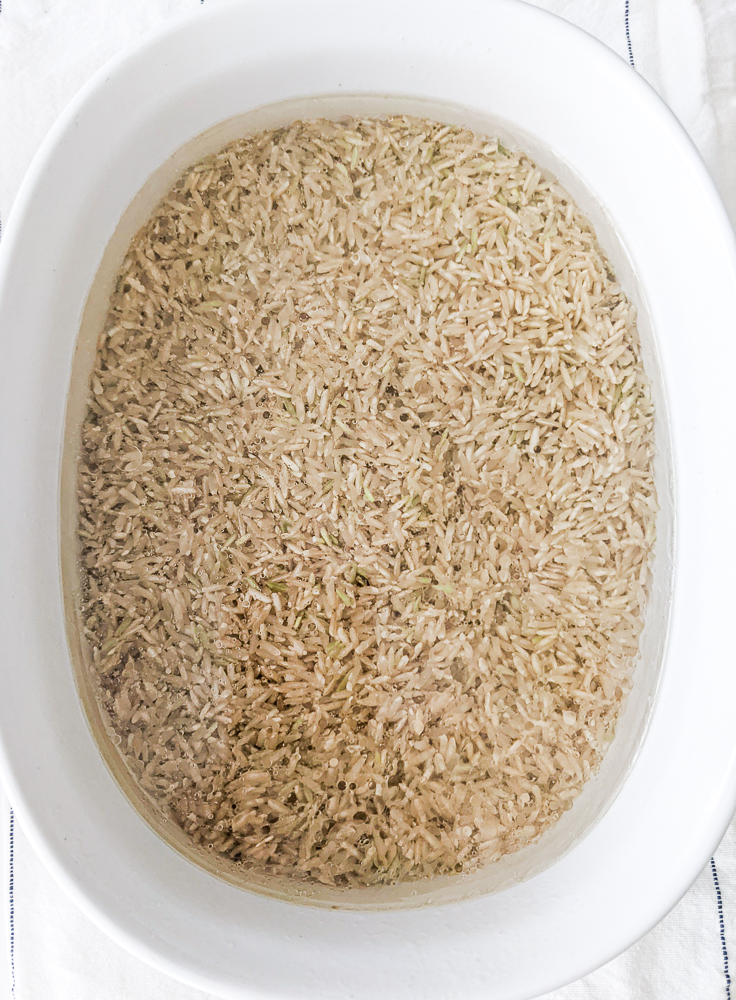
Woohoo! See how easy it is so far? I just put the brown rice in the casserole baking dish to have less dishes to wash. No, we don’t have to rinse the rice.
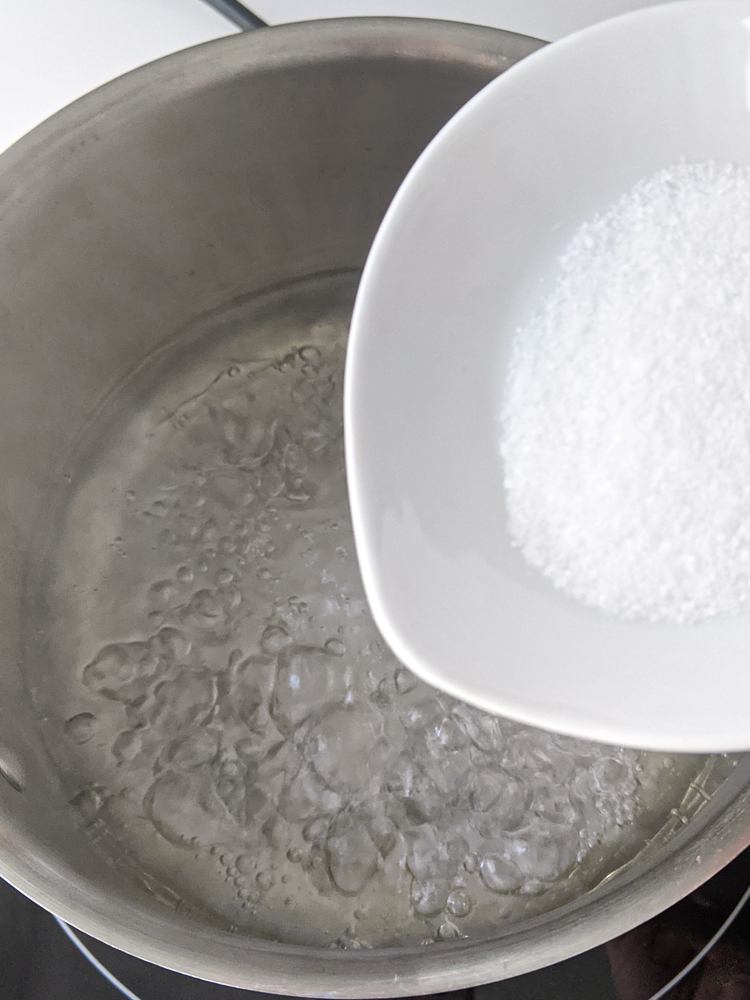
We bring the water and avocado oil to a boil in a medium saucepan and once it hits the boiling point, we add the salt, stir and turn off the heat. We immediately pour the water, salt and oil mix into the casserole dish.
We then cover the casserole dish with its non-melting, glass lid (you can use foil but make sure it’s tight so it actually steams) and set it in the oven on the middle rack.
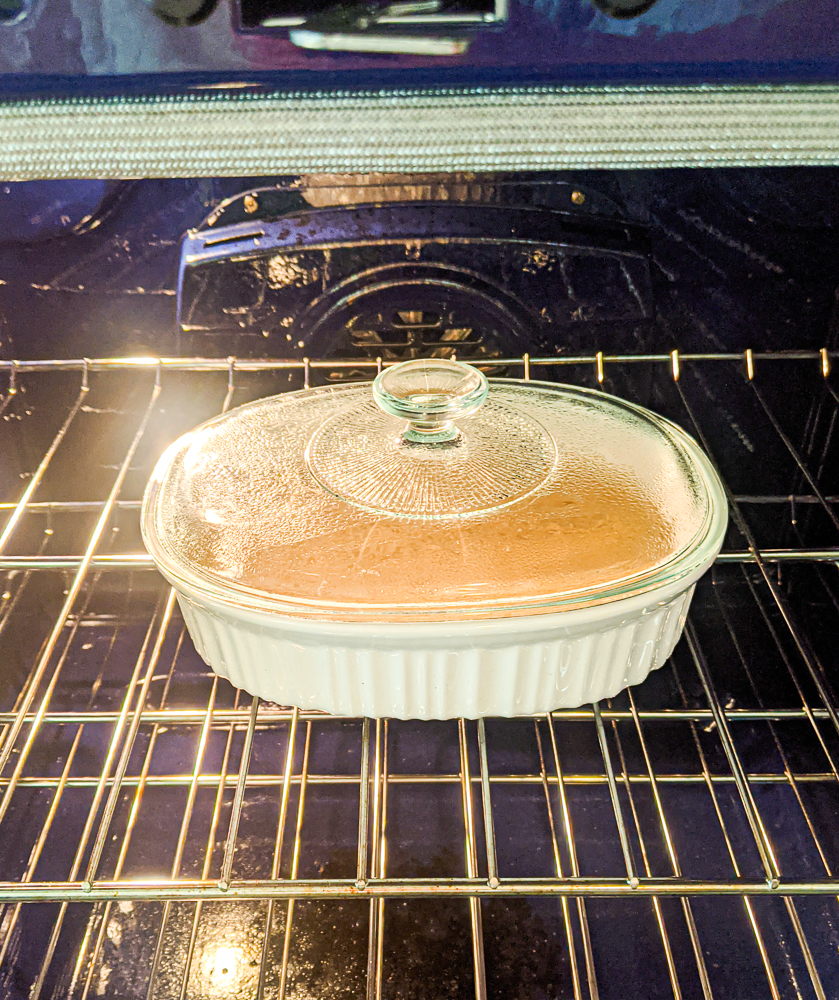
Bake for one hour or until the rice is nice and perfectly steamed. There should be slight crusting at the sides which is how I personally prefer but it shouldn’t be too dark.
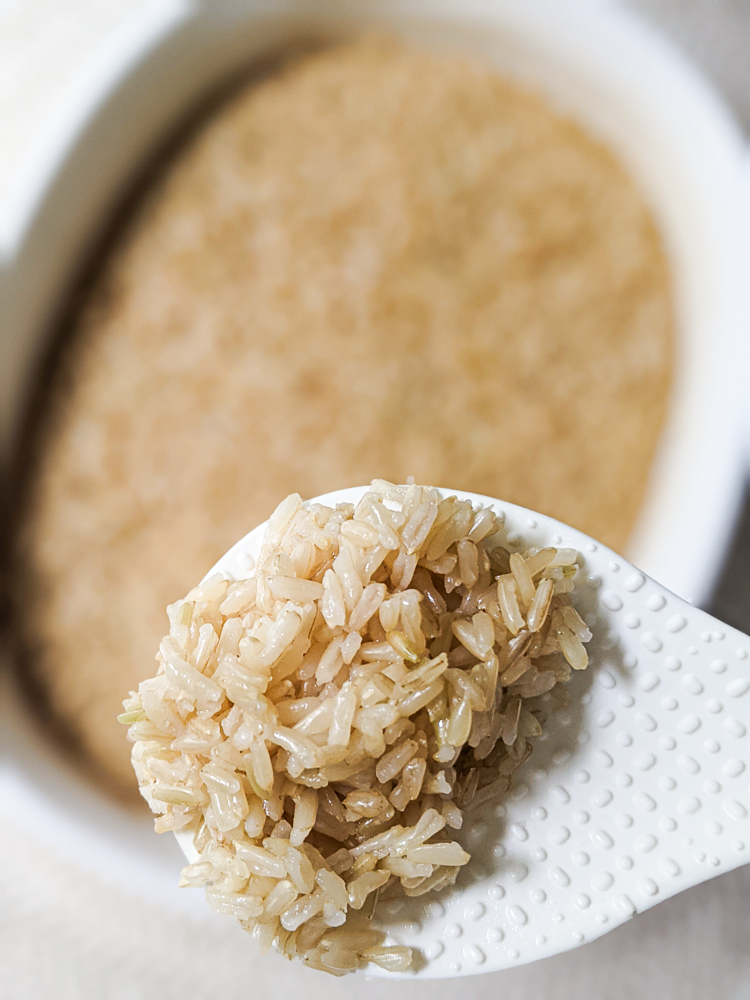
Make sure to fluff that rice!

Perfect Oven Brown Rice
How to make the best brown rice in practically half the time in the oven and without a rice cooker.
Modified and adapted from Cooks Illustrated
- Prep Time: 5
- Cook Time: 65
- Total Time: 70 minutes
Ingredients
- 1 ½ cups long-grain brown rice
- 2 ⅓ cups water
- 2 tablespoons avocado oil
- 1 teaspoon kosher salt
Instructions
- Preheat the oven to 375°F and position oven rack in the middle.
- Evenly spread the long-grain brown rice in a casserole dish and set aside but within reach of the stove.
- Bring water and avocado oil to a boil in a medium saucepan. Once it gets to a boil, add the salt and mix with a wooden spoon.
- Turn off heat and pour the water mixture into the casserole dish and immediately cover.
- Place in oven and bake for one hour or until rice is perfectly cooked. It should be very slightly firm but mostly soft.
- When done, remove from oven and let sit for two minutes. Remove lid and fluff with a rice paddle. Then let sit for another two minutes before serving.
Notes
- The rice doesn’t have to be rinsed. Don’t do it.
- If your casserole dish doesn’t have a glass lid, use foil but make sure it’s tight enough so that it actually seals.
- The edges should have a slight crust which is how I prefer. I love crunchy rice edges.
- Best eaten fresh but store leftovers in an airtight container in the fridge.
- To reheat, microwave with a tiny bit of water to steam in the microwave. Or heat in a pan on the stove with a little bit of water (maybe half a teaspoon and add at your discretion) until it’s warm/hot and at your desired texture.


