• Skip to primary navigation
  • Skip to main content
  • Skip to primary sidebar
  • About
    • Contact
    • Disclaimer
    • Privacy Policy
    • Terms & Conditions
  • FAQ
  • Vegan Recipes
    • Free Fridge Food
    • Special Diets
      • Anti-Inflammatory
      • Gluten-Free
    • Type of Meal
      • Breakfast
      • Lunch
      • Dinner
      • Snacks
    • Culturally-Inspired
      • Argentinean-Inspired
      • Chinese-Inspired
        • Dim Sum
          • 12 Months of Dim Sum
        • Noodles
      • Filipino Food
      • Italian-Inspired
      • Japanese-Inspired
      • Korean-Inspired
      • Malaysian-Inspired
      • Mexican-Inspired
      • Neapolitan-Inspired
      • Pacific Northwest
      • Russian-Inspired
    • Baking
      • Bars
      • Breads
      • Cakes
      • Cookies
    • Holiday Recipes
      • Christmas
      • Friendsgiving
    • Season
      • Autumn
      • Winter
    • Condiments
  • SHOP
    • My Pantry Favorites
  • 12 Months of Dim Sum

Bakeroise

Vegan Filipino Afritada Inspired Tomato Stew

Mulled Pear and Apple Cider

Bakery Style Chocolate Chip Cookies

Shortcut Vegan Bolognese

Kimchi Chickpea Bowl

Hearty Kale and Chickpea Tomato Soup

Vegan Upside Down Pear Cake with Crushed Candy Caps

Golden Beets and Brown Rice Bowl

Vegan Longevity Noodles – Yī Miàn

Farewell, 2021. Hello, 2022!

12 Months of Dim Sum Project 2021

Fennel Cake with Lingonberry Sauce

My Personal List of Anti-Inflammatory Vegan Foods

May 11, 2021

Lentils and spinach

This is information I compiled for myself and is not in any way, shape or form medical advice. I am not a medical professional, just a person trying to do her best for herself.

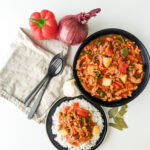
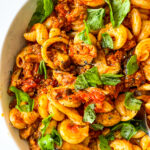
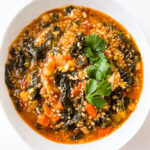
In May of 2021, I hurt my knee. I started compiling a general list of anti-inflammatory foods to reference. This isn’t a list of foods that I believe can make my knee feel better (that takes time and a lot of physical work and therapy) but the event of my knee injury just made me think about wanting to increase the healthier food in my recipes.

I do not have cancer or any other serious illnesses as of the day I started compiling this list. I will add to this list on an ongoing basis.

Sliced frozen bananas

Fruits:

Avocado – Source: Food & Function Journal

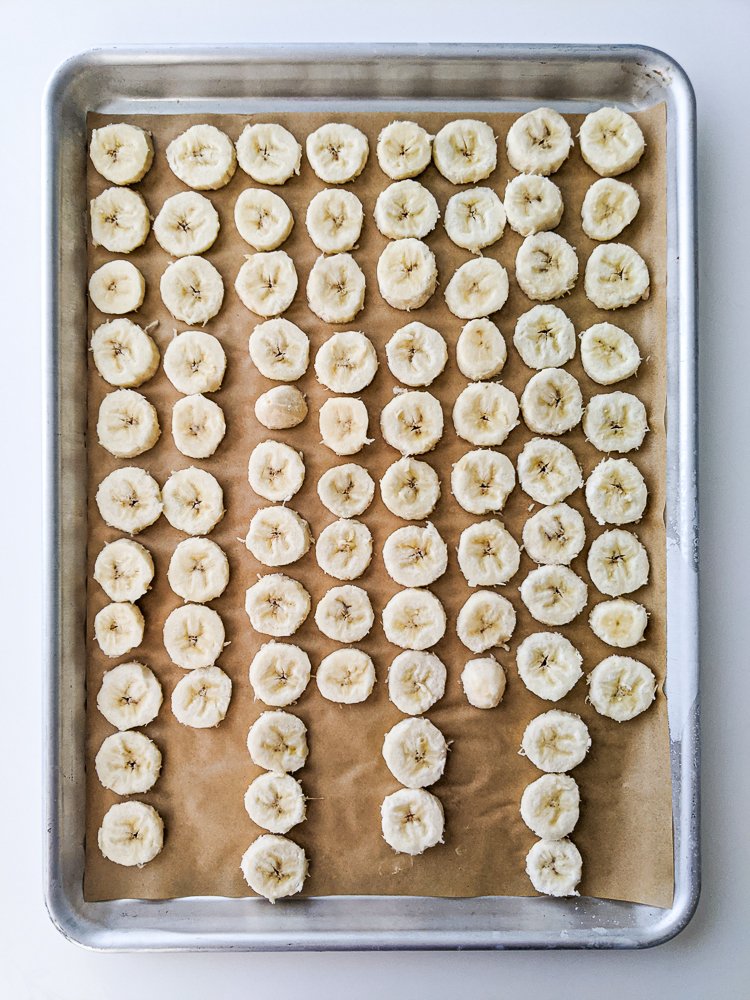
Banana – Source: Food Chemistry

Blackberry – Source: International Journal of Molecular Sciences

Blueberry – Source: Harvard Health

Cherry – Source: Harvard Health

Cranberry – Source: International Journal of Molecular Sciences

Olives – Source: Medicinal Research Reviews via Wiley Online Library (yes olives are a stone fruit)

Orange – Source: Harvard Health

Raspberry – Source: International Journal of Molecular Sciences

Strawberry – Source: Harvard Health

Legumes:

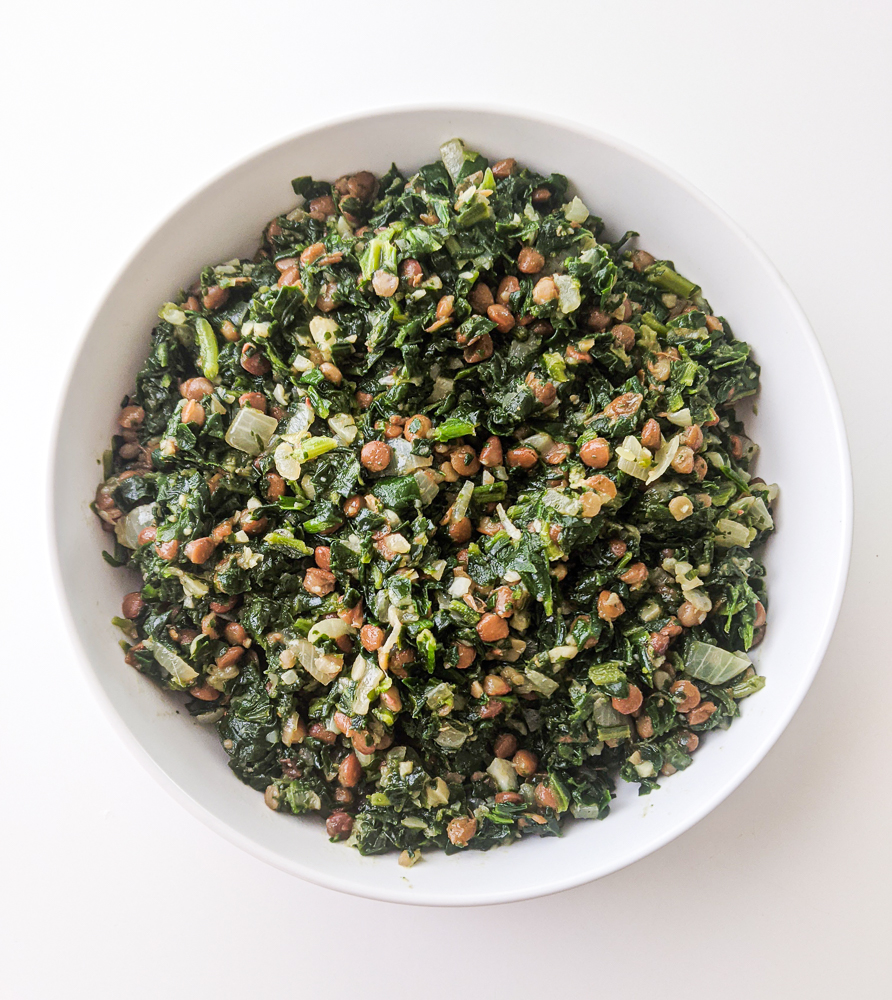
Lentils – Source: International Journal of Molecular Sciences

Peanuts – Source: The American Journal of Clinical Nutrition

Soy – Source: Journal of the Academy of Nutrition and Dietitics
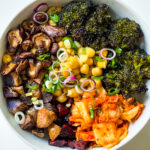
Olive oil kale chips

Vegetables:

Arugula – Source: Mediators of Inflammation

Bell peppers – Source: ScienceDirect

Bok Choy – Source: National Cancer Institute

Broccoli – Source: Preventative Nutrition and Food Science

Brussels Sprouts – Source: National Cancer Institute

Chili Pepper – Source: ScienceDirect

Collard Greens – Source: Harvard Health

Garlic – Source: Journal of Medicinal Food

Horseradish – Source: National Cancer Institute

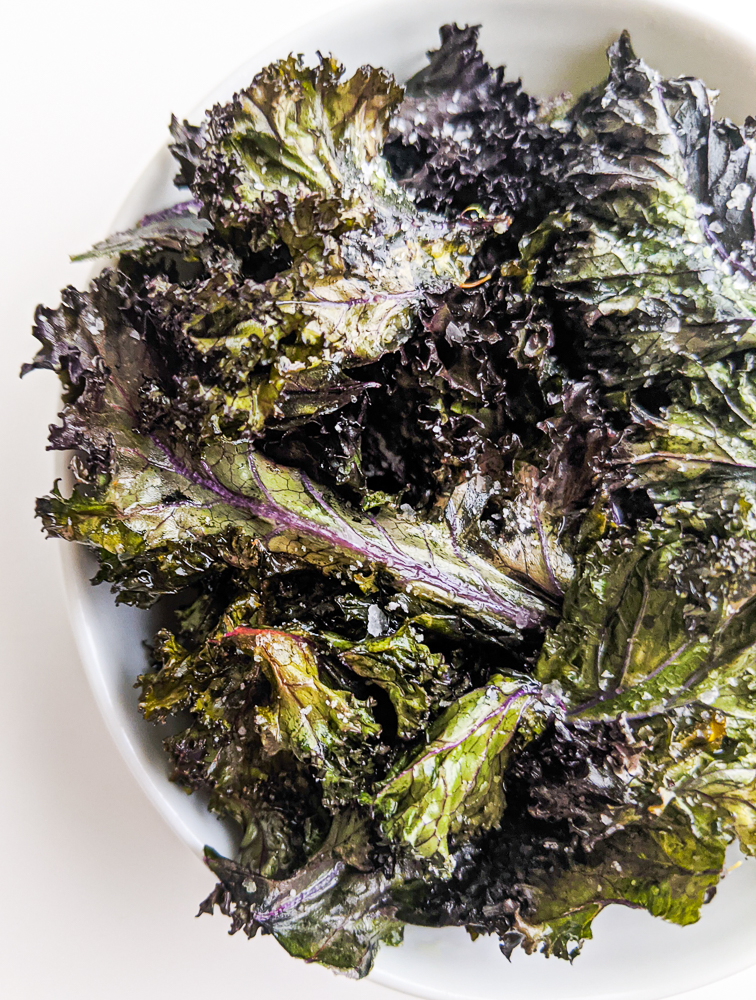
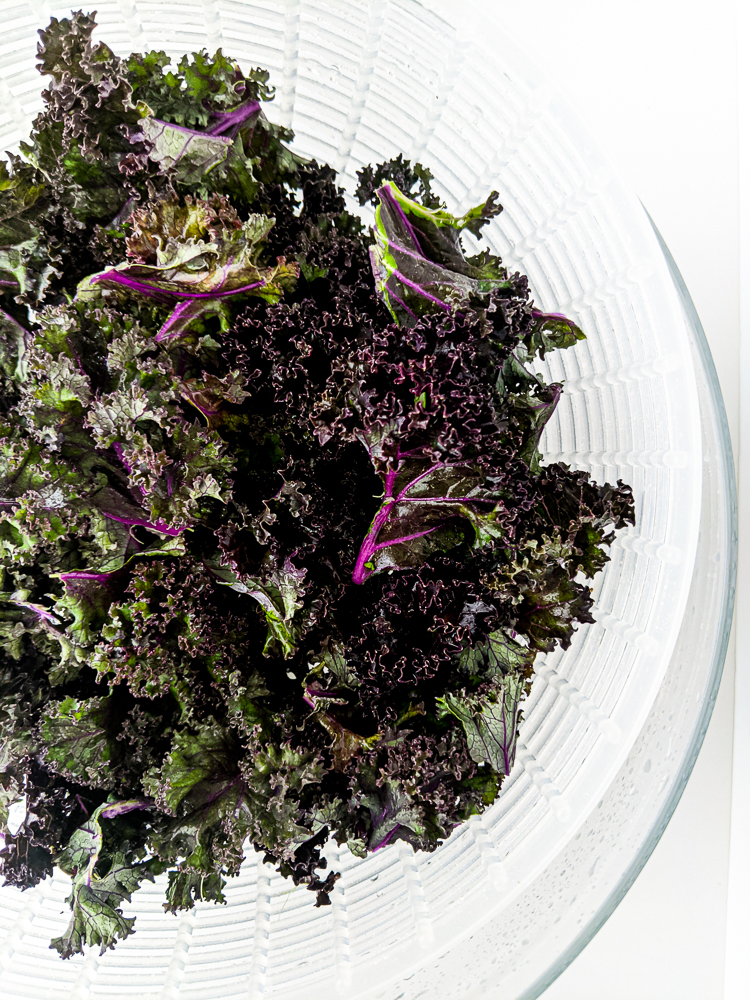
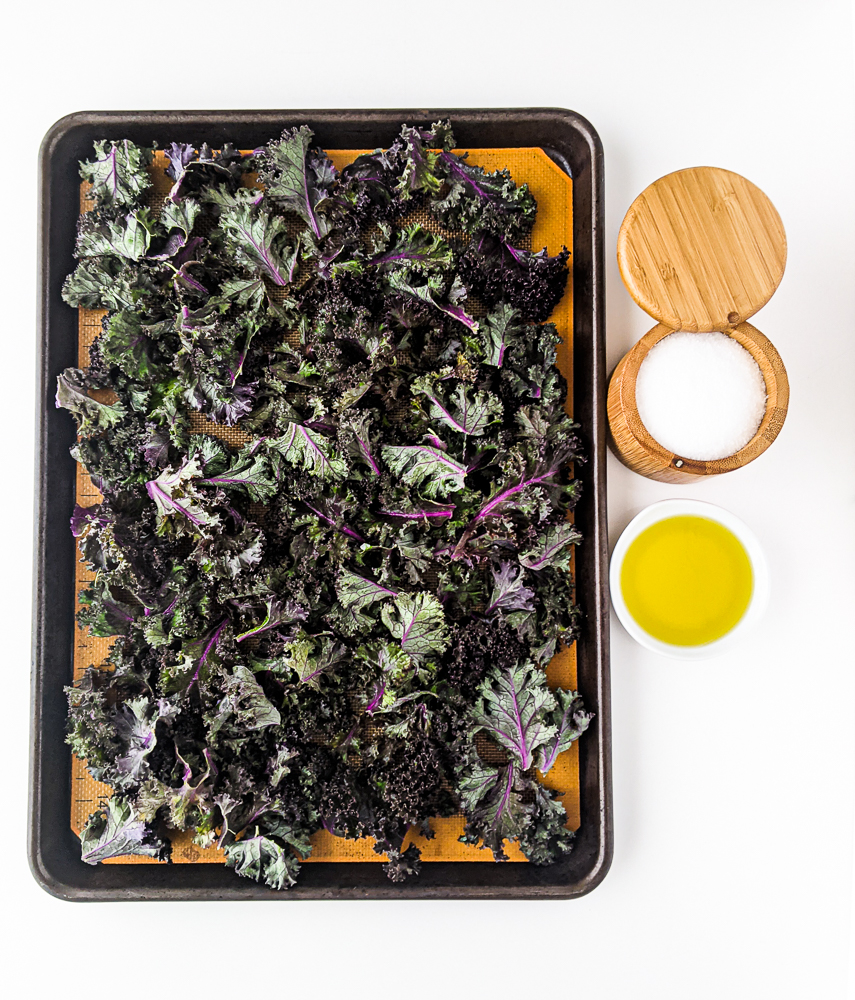
Kale – Source: Harvard Health

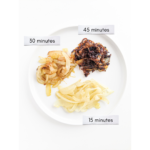
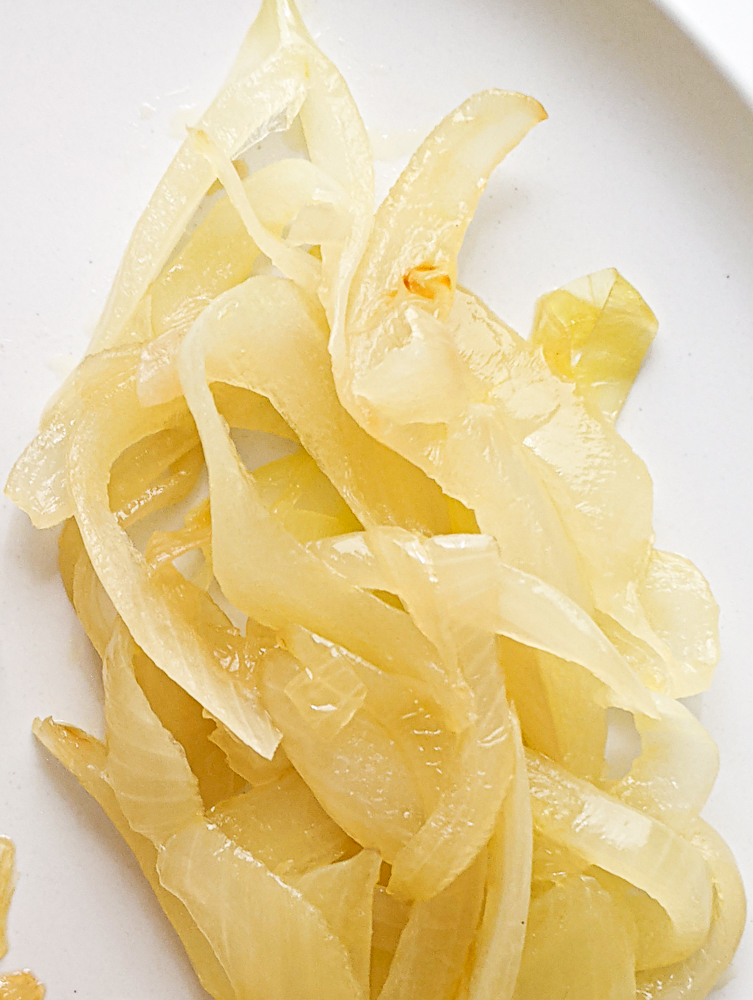
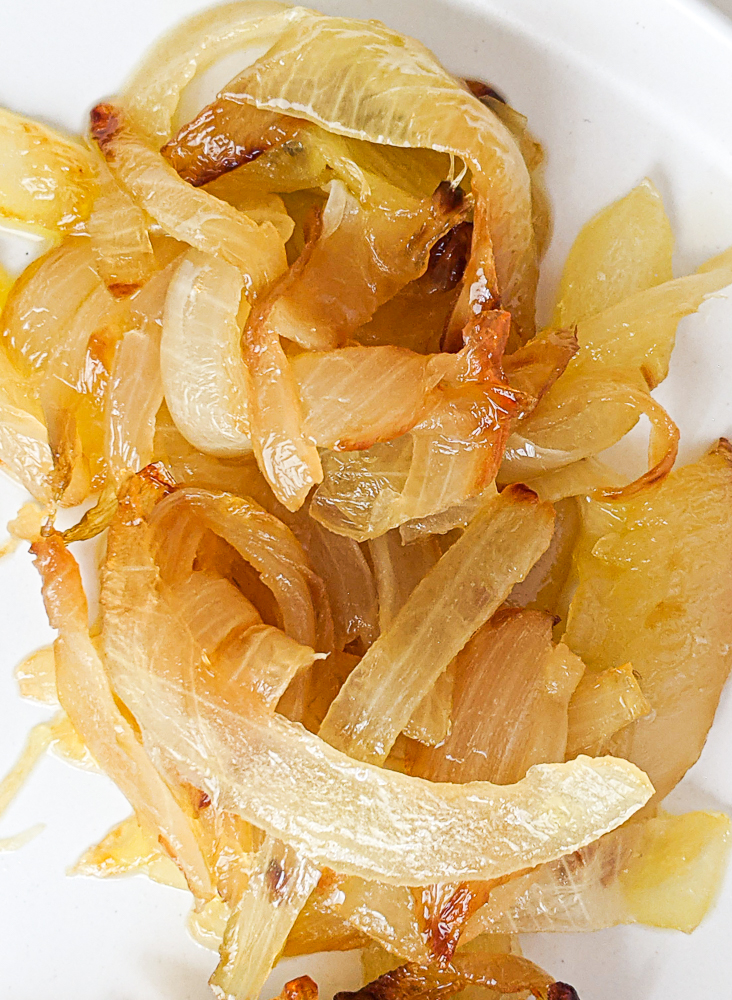
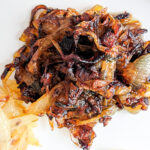
Onions – Source: Cogent Food & Agriculture via Taylor & Francis Online

Radishes – Source: National Cancer Institute

Rutabaga – Source: National Cancer Institute

Spinach – Source: Harvard Health

Turnips – Source: National Cancer Institute

Watercress – Source: National Cancer Institute

Wasabi – Source: National Cancer Institute

Nuts:

Almonds – Source: Harvard Health

Cashew – Source: Nutrients.

Walnuts – Source: Harvard Health

Seeds:

Chia – Source: Journal of Food Science & Technology

Oils:

Olive oil – Source: Harvard Health

Tomatoes – Source: Harvard Health

Truly Caramelized Onions

May 9, 2021

Affiliate Disclosure: As an Amazon Associate, I earn from qualifying purchases. Thank you for supporting Bakeroise.

Hello! Here I am with a truly caramelized onions recipe. A few years ago, onion gate happened. For those who aren’t familiar, there were many recipe writers were accused of flat out lying (or at least intentionally or unintentionally misleading readers) about how long it takes to make caramelized onions. You know…the ones who say it can only take 5-10 minutes when it’s obviously not true nor even possible.

Because I love truly caramelized onions, I took it upon myself to test how long it really does take to make truly caramelized onions in my own kitchen with my own ingredients and equipment. These truly caramelized onions would be great as an additional filling for these lentil and spinach empanadas.

Here’s is what my two sliced onions look like after cooking for 15 minutes. Very light cream color. To me, I consider these onions as on par with sauteéd onions that I would put in a soup.

At 30 minutes, they start to look more golden but still not caramelized.

At 45 minutes, they are straight up brown and pretty caramelized.

This is my standard for truly caramelized onions for my burgers, pizza, potatoes, etc. I don’t like them as toppings otherwise unless they’re just straight up fresh. I like my caramelized onions to the point where they’re almost charred. I also don’t want them broken down into a jam.

It was all a simple process for me to get my truly caramelized onions. I simply sliced two large yellow onions into ¼″ inch thick slices and cooked them over medium heat in a medium pan, uncovered, with a surface area that was fully covered in olive oil. I made sure to use a nice palmful of salt to sprinkle over the onions. I also happen to have an induction range which does tend to be more powerful and heat at a faster rate.

My truly caramelized onions is that it’s going to always take at least 45 minutes. Some other bloggers have found that it takes them at least double that amount of time but with different variables (like adding other ingredients such as water, baking soda, balsamic vinegar, etc). To be fair, we all use different ingredients, different pans, heat levels, etc.

But there is never going to be a day where it takes me only 5-10 minutes, heck even 30 minutes, to truly caramelize onions. It’s simply a slow process and that’s just the way it is.

Print

Truly Caramelized Onions

Print Recipe

An honest caramelized onion recipe that doesn’t lie about cooking time

  • Author: Jan Carlisle @ Bakeroise
  • Prep Time: 5
  • Cook Time: 45
  • Total Time: 50 minutes

Ingredients

Scale
  • 2 onions
  • ¼ cup of olive oil
  • 2–3 teaspoons of kosher salt

Instructions

  1. Peel and slice onions into ¼″ slices
  2. Bring a pan to medium heat. When hot, add olive oil.
  3. Add onions and toss so that each pieces is coated with oil.
  4. Sprinkle with a palmful of salt and toss again.
  5. Cook at medium heat for 45 minutes, tossing regularly every 5-7 minutes to avoid burning. 

Did you make this recipe?

Share a photo and tag us — we can’t wait to see what you’ve made!

Actual 3-Ingredient Kale Chips

May 3, 2021

Affiliate Disclosure: As an Amazon Associate, I earn from qualifying purchases. Thank you for supporting Bakeroise.

I live in Portland where kale grows in abundance. There are many different types and even more different ways to prepare it. But my actual 3-ingredient kale chips are my favorite. I say “actual 3-ingredient kale chips” because this is an honest recipe that doesn’t misrepresent the amount of ingredients. It’s one of my favorite snacks. If you prefer a more hearty kale recipe, check out my Purple Winter Soup with Kale and Chickpeas.

This recipe allows you to get all the prep done while the oven is preheating. In fact, it’s so easy to prep that you’ll probably have to wait for the oven to finish preheating even if you do all of the prep after you start preheating! Making these kale chips takes less than 20 minutes from beginning to end – at least for me!

I appreciate the taste of kale so I opt for only olive oil and kosher sea salt. I personally find that adding too many different spices takes away from the taste of the kale itself. And I’m not trying to mask the taste. I just want to enhance it. And honestly, as much as I believe that good food does take time and effort, it’s a little overkill to add a gazillion seasonings to kale chips. I am not a fan of the dehydrated kale with whatever additives there are that I find at the different stores around here so I prefer to make my own since it’s so easy and way more convenient.

So how do we make our actual 3-ingredient kale chips? Well first, we get one bunch of curly purple kale. My favorite is redbor kale. we remove the kale leaves from the stems. I usually just use my hands to remove the kale by wrapping my hand around the stem making a loose fist and sliding down. I used to use a sharp chef’s knife but I found using my hands to be just as efficient and it leaves me with less equipment to hand wash.

First, we rinse the kale well and dry it off as much as possible. I like to use my salad spinner to dry off the leaves as much as possible. Much more effective than just shaking it off and trying to use a towel to dry. While we do want the leaves as dry as possible, it’s not something to totally stress over if you only get it mostly dry.

Why? Because for the next part, we are going to massage olive oil into the kale and sprinkle salt all over it. We don’t skimp on the salt. We’re not doing that “pinch of salt” stuff here.

We then put the kale in one layer on a baking sheet and then bake it in the oven’s middle rack at 350°F for 15 minutes.

And what should come out should be the perfect, actual 3-ingredient kale chips

Some of them might look deceptively soggy but they’re not! They should be crispy. If any are slightly less than crispy, leave them in the oven with the heat turned off for a few minutes to crisp up without risking burning.

Enjoy and, of course, salt to taste if you find that you didn’t salt it enough before the cooking process!

Print

Purple Kale Chips

Print Recipe

Actual 3-Ingredient Kale Chips

  • Author: Jan Carlisle @ Bakeroise
  • Prep Time: 5
  • Cook Time: 15
  • Total Time: 15 minutes

Ingredients

Scale
  • ¼ cup of olive oil
  • One bunch of (preferably) organic curly purple kale chips (substitute with any other bunch of curly kale)
  • kosher salt to taste

Instructions

  1. Preheat the oven to 350°F and position oven rack in the middle.
  2. Remove the kale leaves from the stems. Rinse and dry.
  3. Massage the olive oil onto the kale leaves so that every surface of each leave is covered.
  4. Spread onto a single layer of the baking sheet and sprinkle a healthy amount of salt (so way more than “a pinch of salt”)
  5. Bake for 15 minutes. At 15 minutes, the kale chips should be ready. If they’re not all crispy for your preference, leave in the oven with the heat turned off (but still hot) to allow for further crisping.
  6. When done, salt to taste if needed.

Did you make this recipe?

Share a photo and tag us — we can’t wait to see what you’ve made!

Sweet and Spicy Chinese Chili Oil Recipe

April 28, 2021

Affiliate Disclosure: As an Amazon Associate, I earn from qualifying purchases. Thank you for supporting Bakeroise.

This is not a potsticker recipe or siomai recipe. Although I will admit that the dumplings above are the ones that didn’t make it into those blog entries! It’s nice how they can be made in advance and just cooked on demand.

This post is actually all about my favorite sweet and spicy chili oil. Yes, it relevant to my 12 Months of Dim Sum project but no worries, this isn’t an early post for my May recipe. I will be cooking an actual dish for that. Or dessert. We’ll see!

This sweet and spicy chili oil recipe is adapted from Woon Heng’s 5-ingredient recipe here. Woon uses standard red chili pepper flakes in her recipe which uses non-Sichuan peppers but I opted to use Sichuan chili flakes to make them more compatible with Asian cooking. Because of my personal preference for, uh, less dry food (for lack of an actual better term), I also doubled the oil despite using the sediment as well.

When buying sweet and spicy chili oil at the store or even just using the chili oil at restaurants, I notice there to not be as much sediment as in this homemade one. I don’t know if it’s a cost-cutting tactic but I need the pepper flakes in my belly. I can’t just use oil in my food as I enjoy the texture of the rest of the ingredients. So being able to control the ingredients in this recipe without changing it too much has been incredibly helpful for me in the kitchen. The ratio of sediment to oil is almost 1:1 so it’s perfect for me.

Not all chili oils and chili sauces are interchangeable but I find this one to be something I can put on almost everything. I even put it on pizza!

So how do we make our sweet chili oil? Well we start off with our five ingredients: organic cane sugar, kosher salt, Sichuan chili flakes, light soy sauce and sesame oil.

We combine all of the ingredients, except the oil, in a heat-safe bowl and set it aside but close enough on a heat-safe surface.

We heat the oil in a sauce pan to 300°F at which point we turn off the heat and immediately but carefully pour the oil into the heat-safe bowl with the rest of the ingredients.

It will bubble so do it at a slow but steady pace so it doesn’t spill over the sides. Cleaning up oil stinks! Let cool for a few minutes before transferring to your sauce dispenser or a mason jar. Keep at room temperature for two weeks and then transfer to the fridge in an airtight container for 3-4 months.

But there you go! Some wonderfully sweet and spicy chili oil perfect on almost anything!

12 Months of Dim Sum Recipes:

January 2021: Vegan Siomai

February 2021: Instant Pot Congee

March 2021: Vegan Potstickers with Ginger Scallion Tofu

April 2021: Crispy Golden Fried Tofu

May 2021: Toasted Cumin Scallion Pancakes

June 2021: Gluten-Free Asian Dipping Sauce

Print

Sweet and Spicy Chinese Chili Oil

Print Recipe
  • Author: Jan Carlisle @ Bakeroise

Ingredients

Scale
  • ¼ cup or 20g crushed Sichuan pepper flakes
  • 1 tablespoon light soy sauce (substitute with tamari or coconut aminos to make gluten-free)
  • 1 teaspoon organic cane sugar
  • ½ teaspoon salt
  • ⅔  cup organic sesame oil 

Instructions

  1. Place all dry ingredients and soy sauce in a heat-safe bowl. Set aside but within reach.
  2. Heat oil in a saucepan to around 300°F or 121°C. Once it reaches that temperature turn off heat.
  3. Immediately but carefully pour the hot oil into the bowl with the rest of the ingredients. The mixture will bubble as the oil touches the other ingredients so proceed slowly to avoid spillage.
  4. Let cool for 10 minutes before serving or storing in a container. 


Notes

  1. To store, room temperature is good for two weeks and in the fridge for 3-4 months.

Did you make this recipe?

Share a photo and tag us — we can’t wait to see what you’ve made!

  • « Go to Previous Page
  • Page 1
  • Interim pages omitted …
  • Page 9
  • Page 10
  • Page 11
  • Page 12
  • Page 13
  • Interim pages omitted …
  • Page 16
  • Go to Next Page »

Primary Sidebar

Categories

Recent Recipes

  • Vegan Filipino Afritada Inspired Tomato Stew
  • Mulled Pear and Apple Cider
  • Bakery Style Chocolate Chip Cookies
  • Shortcut Vegan Bolognese
  • Kimchi Chickpea Bowl
  • Facebook
  • Twitter
  • Instagram
  • Pinterest

Calendar

June 2025
M T W T F S S
 1
2345678
9101112131415
16171819202122
23242526272829
30  
« Dec    

Archives

  • December 2023
  • November 2023
  • September 2023
  • September 2022
  • March 2022
  • February 2022
  • January 2022
  • December 2021
  • November 2021
  • October 2021
  • September 2021
  • August 2021
  • July 2021
  • June 2021
  • May 2021
  • April 2021
  • March 2021
  • February 2021
  • January 2021

Recent Comments

  • Jan on Vegan Longevity Noodles – Yī Miàn
  • Kim on Vegan Longevity Noodles – Yī Miàn
  • Jan on Vegan Mongolian Beef Inspired Soy Curls
  • Jenn P on Vegan Mongolian Beef Inspired Soy Curls
  • Jan on 10 Ingredient Vegan Siomai

Footer

↑ back to top

About

  • Privacy Policy
  • Disclaimer
  • Terms & Conditions

Newsletter

  • Sign Up! for emails and updates

Contact

  • Contact
  • FAQ

As an Amazon Associate I earn from qualifying purchases.

Copyright © 2020 Brunch Pro on the Brunch Pro Theme